
HOW-TO GUIDE
How to Build a Forward Facing Sonar Shuttle
A practical guide to choosing your sonar, selecting a shuttle and building a portable system for ice and open water.
Start Your BuildONE SYSTEM. MORE WAYS TO FISH.
A forward facing sonar shuttle brings your display, sonar components and battery together in one portable system. With suitable mounting accessories, you can move your electronics between the ice, a boat or a kayak and get more use from your investment throughout the year.
A successful build starts with four components: your sonar system, shuttle platform, transducer pole and power source. Combine those components together, starting with the electronics. Your sonar selection determines the mounting space, connections and power your shuttle needs.
This guide walks you through selection, assembly and testing, with practical tips to make your finished system easier to carry, operate and maintain.
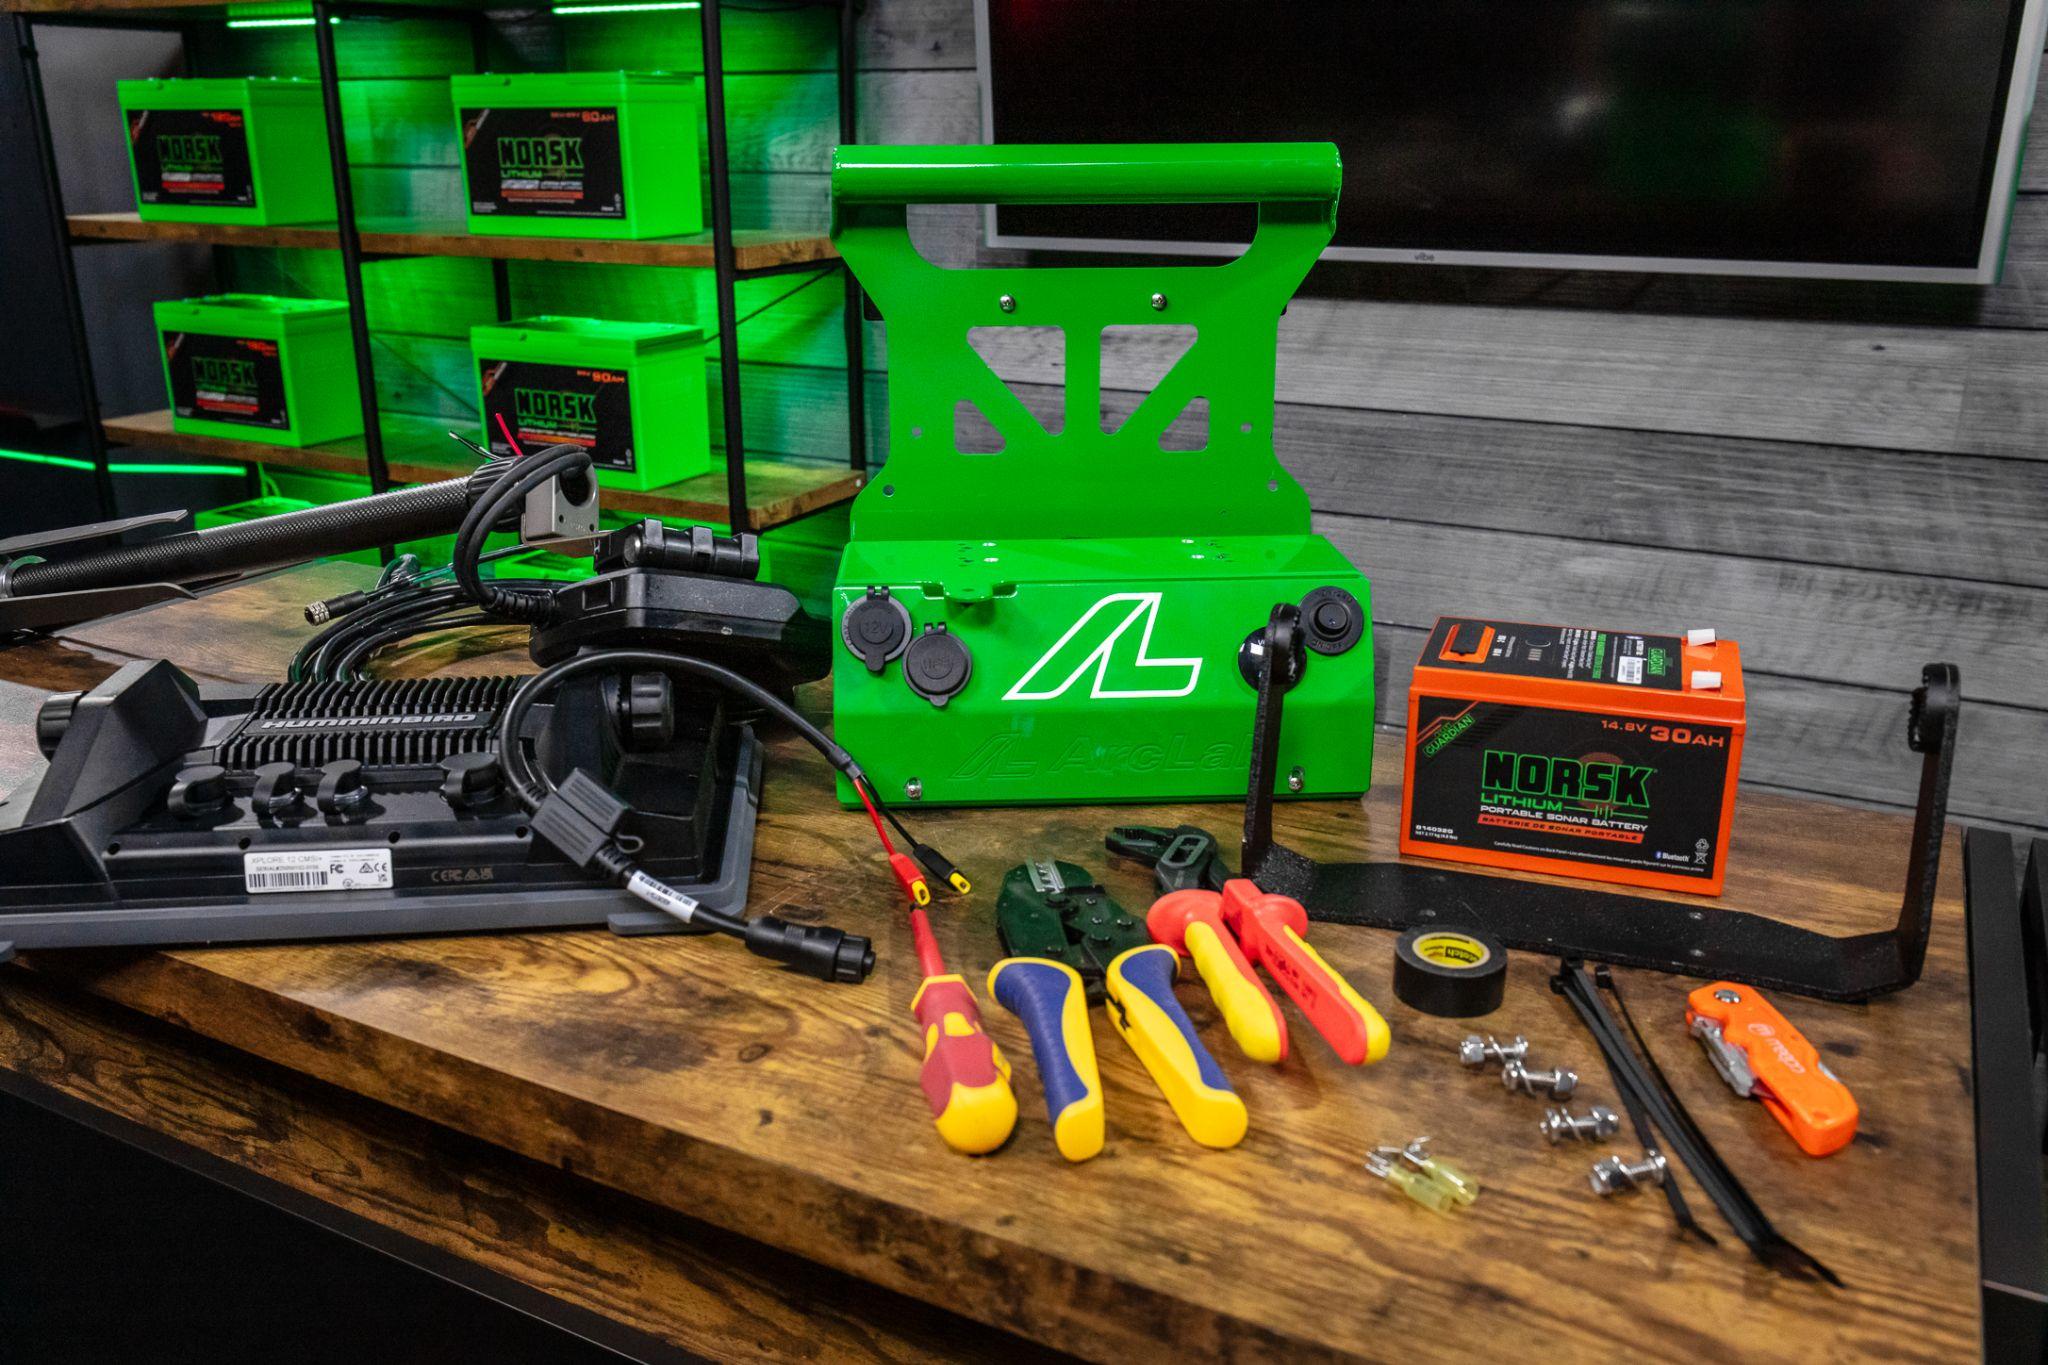
STEP 1 / PLAN YOUR BUILD
CHOOSE YOUR SONAR SYSTEM
Match the electronics before you choose the platform.
Start by deciding whether you’ll use electronics you already own or build a new system. If you already have a compatible display, adding live sonar may let you use that equipment in a portable setup. If you’re starting fresh, compare complete systems before choosing the shuttle.
Consider screen size, viewing modes, controls, mapping, equipment compatibility and total cost. Include the transducer, any required processing module, mounting accessories and power supply in your budget.
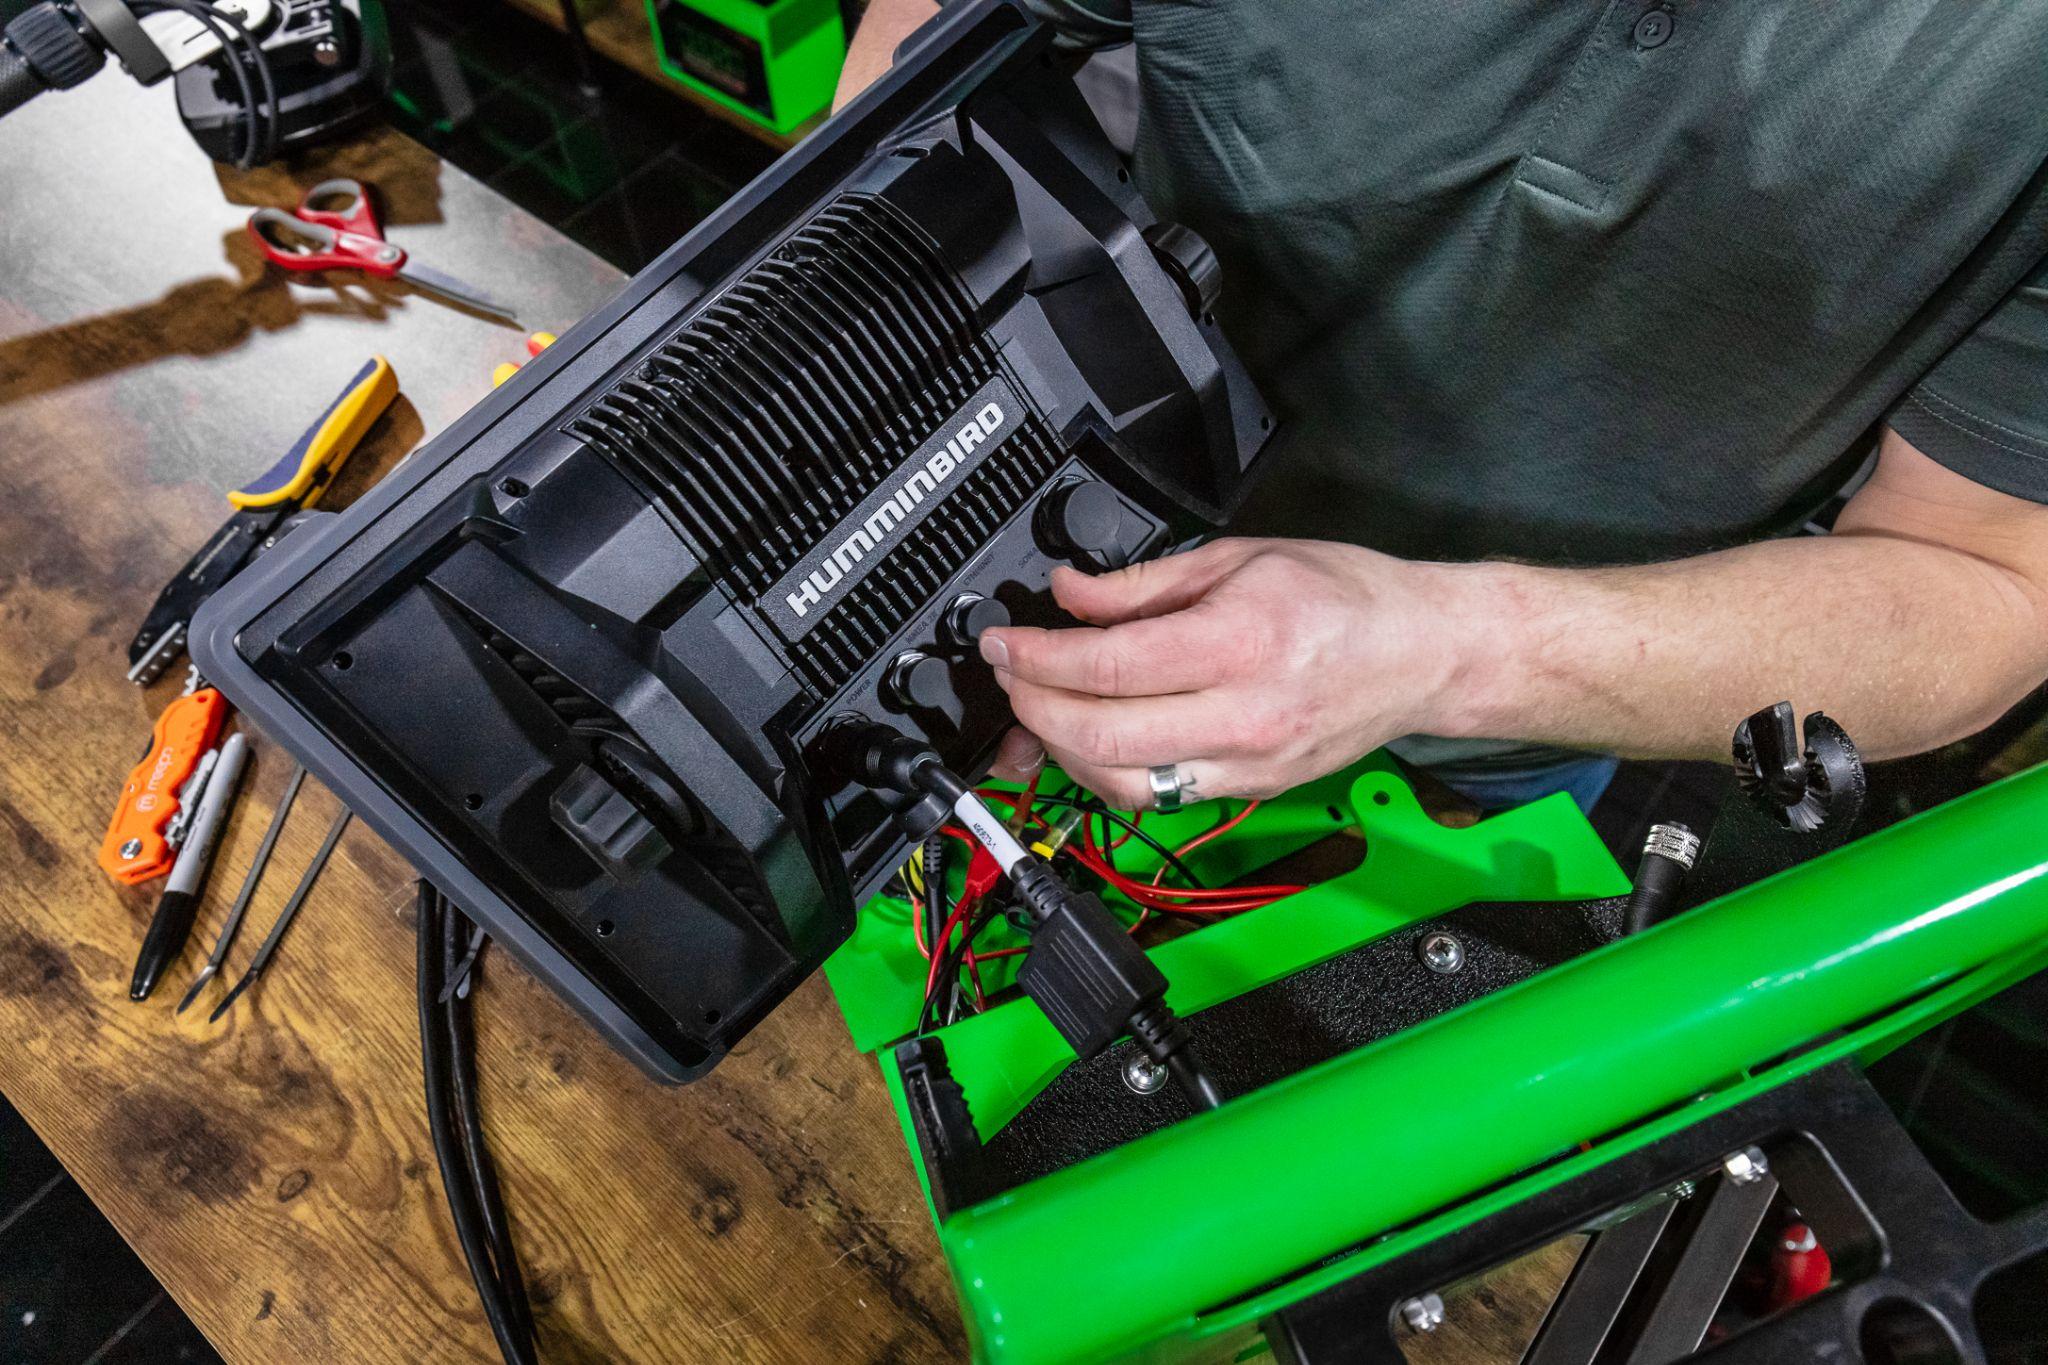
DOES YOUR SYSTEM NEED A BLACK BOX?
Some live sonar systems use a separate processing module, commonly called a black box, between the transducer and display. That module needs mounting space, cable clearance and a power connection.
Other systems eliminate the external black box, simplifying the physical installation. However, they still require compatible electronics and correctly installed power and data connections.
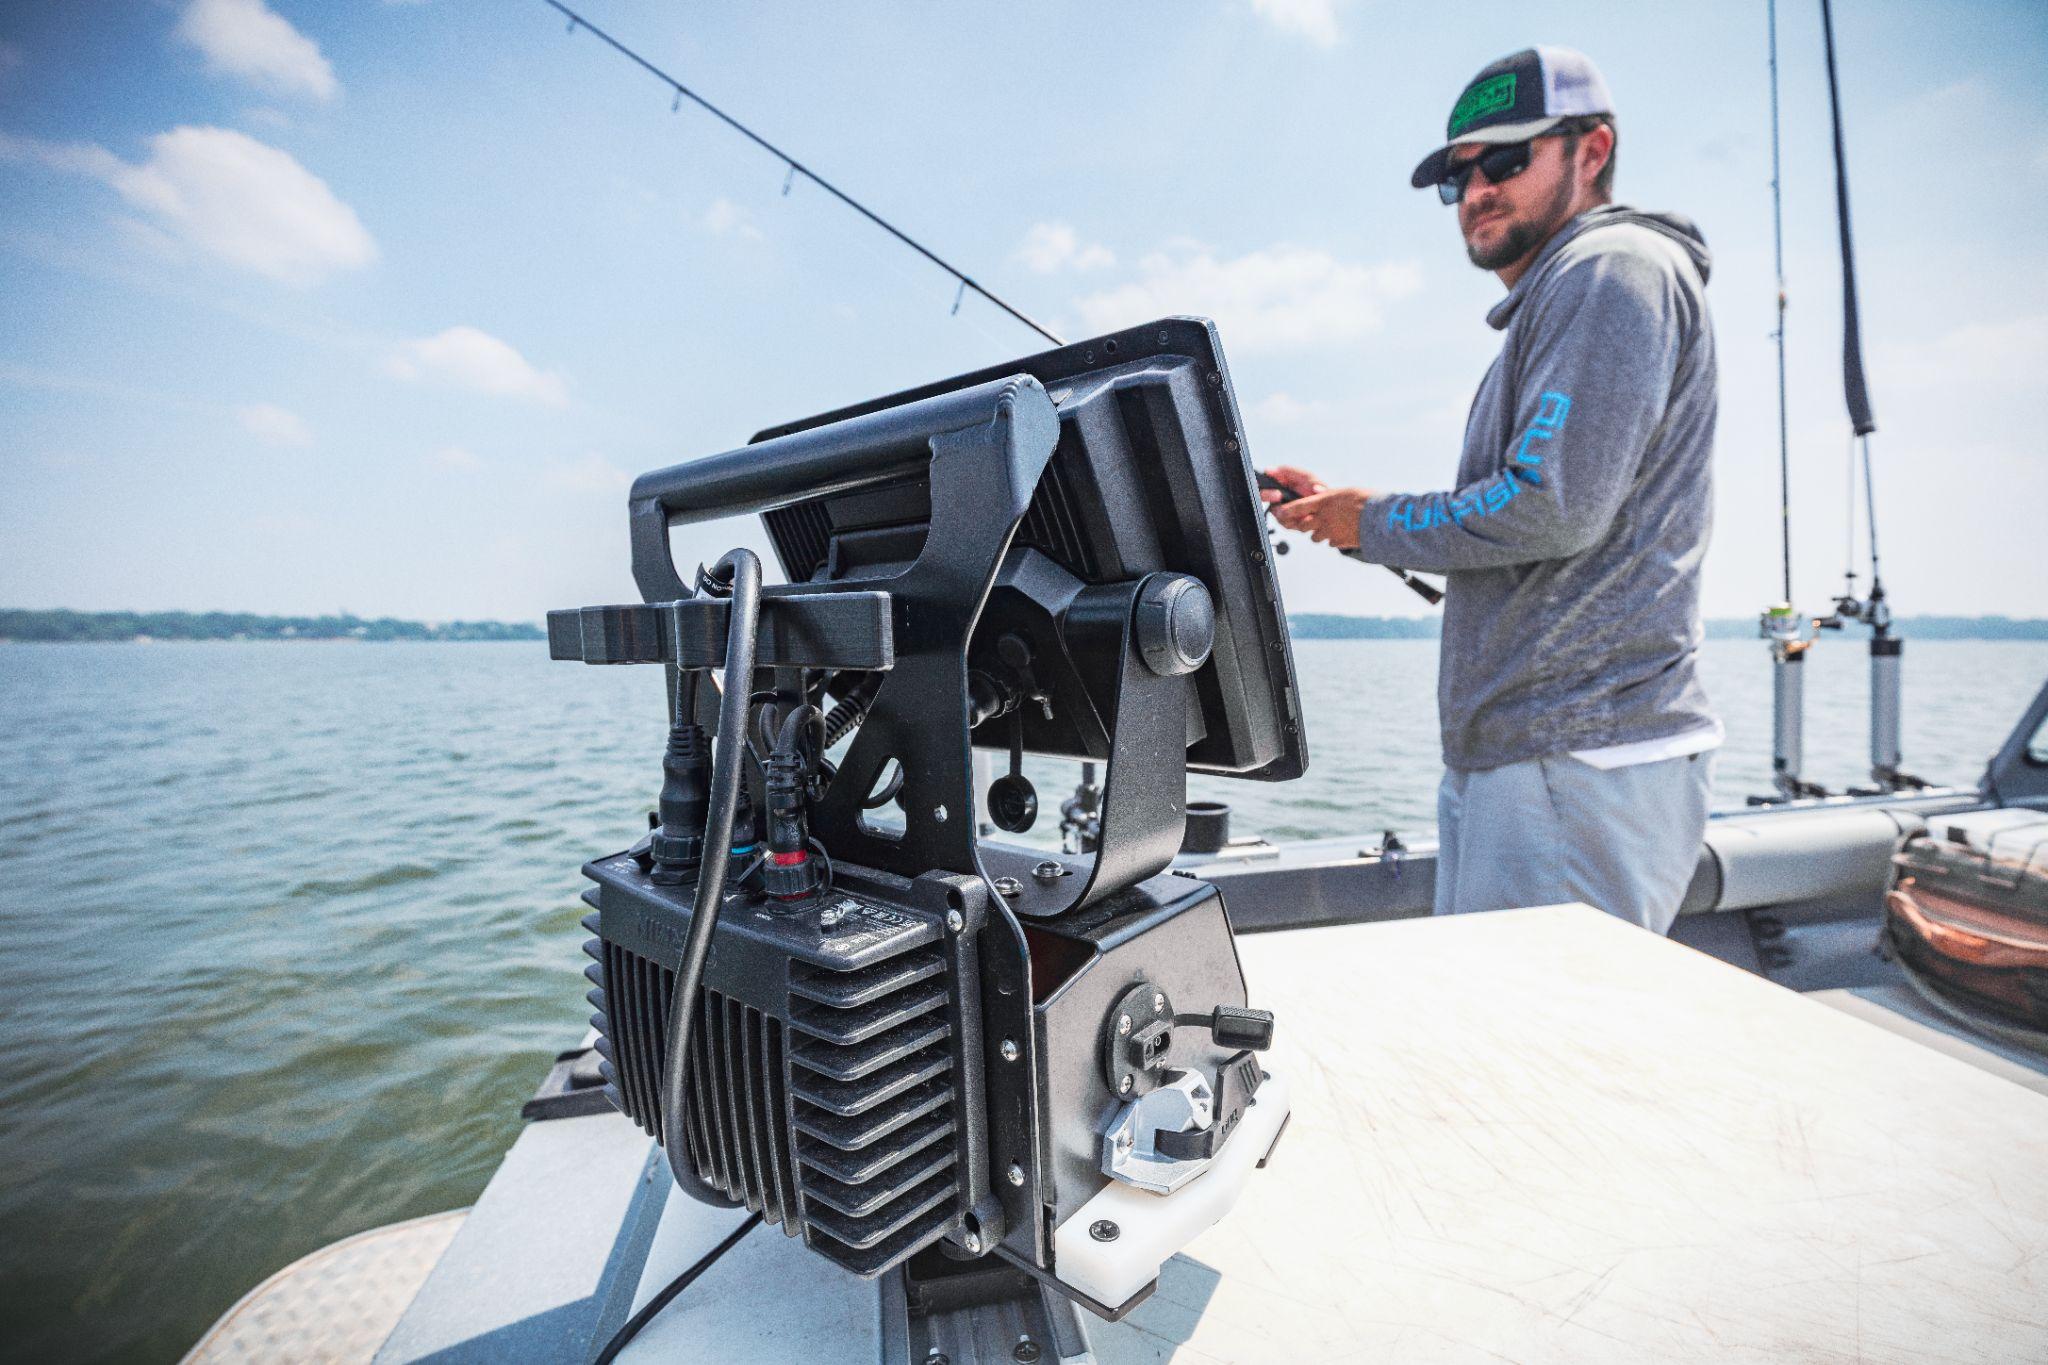
GARMIN: LIVESCOPE PLUS, XR AND THE NEW LIVESCOPE 2 SERIES

Garmin’s established LiveScope Plus with the LVS34 transducer and LiveScope XR with the LVS62 transducer use the GLS 10 black box. These remain relevant when building around existing compatible Garmin equipment.
The newer LiveScope 2 with the LVS44 and LiveScope 2 HD with the LVS42HD connect to a compatible display and power source without a separate black box. LiveScope 2 emphasizes increased range, while the HD version focuses on greater detail at closer distances.
For your shuttle, the distinction is physical space: a GLS 10 installation needs room for the module and its connections. LiveScope 2 removes that component, but you must still verify compatibility with your exact Garmin display.
LOWRANCE: ACTIVETARGET 2, ACTIVETARGET 2 XL AND EAGLE EYE
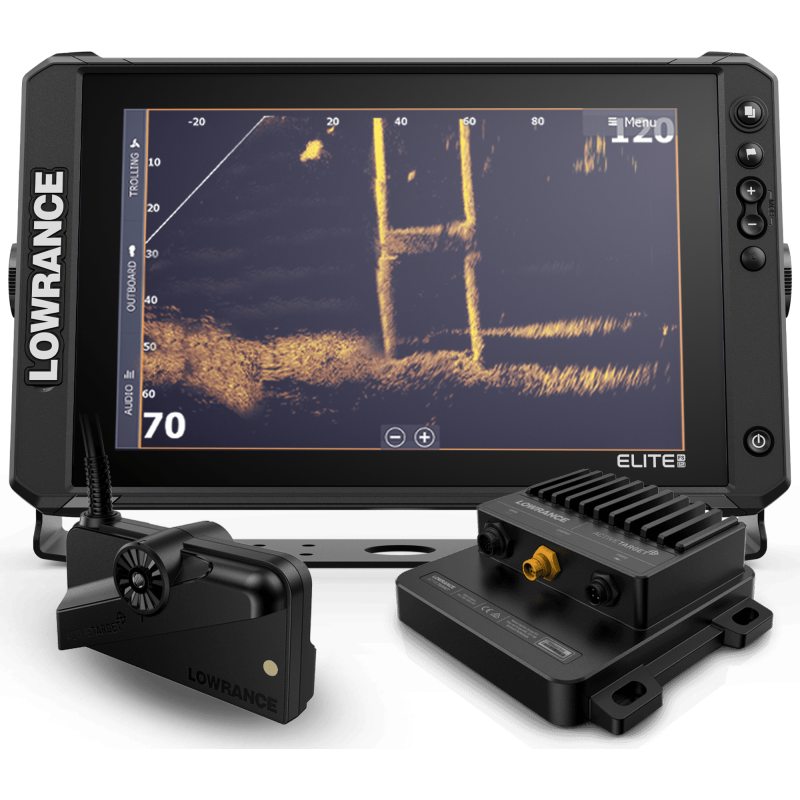
Lowrance offers different approaches to portable live sonar:
- ActiveTarget and ActiveTarget 2 use separate sonar modules.
- ActiveTarget 2 XL is the newer expanded-view option and works with the ActiveTarget 2 module. Lowrance lists compatibility with HDS PRO, HDS LIVE, HDS Carbon and Elite FS displays.
- Eagle Eye 9 combines a 9-inch display with a dedicated transducer offering live forward, live down, CHIRP and DownScan views without an external sonar module.
ActiveTarget configurations require room for the black box. Eagle Eye provides a simpler package with more focused live-sonar views. Choose the system around the capabilities you need and the display you intend to use.
MINN KOTA POWERED BY HUMMINBIRD: MEGA LIVE AND MEGA LIVE 2

MEGA Live 2 is the current generation to consider for a new build. It operates without a separate sonar black box, helping simplify shuttle layout.
Display compatibility is particularly important when upgrading from the original MEGA Live. MEGA Live 2 does not work with HELIX or SOLIX G1/G2 displays. Supported families include XPLORE, APEX and SOLIX G3, with newer A Series and X Series also appearing in the current accessory compatibility guide. Confirm your exact model and required software before purchasing.
An existing first-generation MEGA Live setup may still be useful, but its compatibility should not be assumed to carry over to MEGA Live 2.
VEXILAR: VISION X10

The Vexilar Vision X10 is an ice-focused live-sonar system with a 10-inch touchscreen, physical controls and no external black box. It includes live forward and down views, along with traditional sonar, digital flasher and mapping functions.
The Vision X10 Live View System pairs its display and transducer, making it an option for anglers assembling their own shuttle and pole combination.
The Vexilar Vision X10 Pro Bundle includes a Norsk Lithium 30Ah battery and charger, bringing Norsk portable sonar power directly into Vexilar’s complete live-imaging package.
Check package contents carefully, since a core electronics package and a complete fishing bundle may include different accessories.
QUICK COMPARISON: PLAN YOUR MOUNTING SPACE
| Sonar system | Separate sonar black box? | Shuttle planning consideration |
|---|---|---|
| Garmin LiveScope Plus / XR | Yes, GLS 10 | Allow room for the module, mounting hardware and cable connections. |
| Garmin LiveScope 2 / 2 HD | No | Verify the exact display’s compatibility and plan power/data routing. |
| Lowrance ActiveTarget / ActiveTarget 2 | Yes | Include module space and power requirements. |
| Lowrance ActiveTarget 2 XL | Yes, ActiveTarget 2 module | Allow for the module and confirm transducer-mount compatibility. |
| Lowrance Eagle Eye 9 | No | Plan around the paired display and dedicated transducer. |
| Humminbird MEGA Live 2 | No | Confirm supported display generation and software. |
| Vexilar Vision X10 | No | Check what the selected electronics package includes. |
CONSIDER A MATCHED ELECTRONICS BUNDLE
Buying a matched bundle from the manufacturer or a knowledgeable retailer can simplify component selection. Look for a package that includes a compatible display, transducer, required processing module if applicable and any additional power cords or wiring connections needed.
Read the contents carefully. A “sonar bundle” may contain only the transducer and module, while a complete shuttle package may also include the display, pole, battery and mounting hardware.
STEP 2 / PLAN YOUR BUILD
PICK YOUR SHUTTLE PLATFORM
Give every component a secure, accessible home.
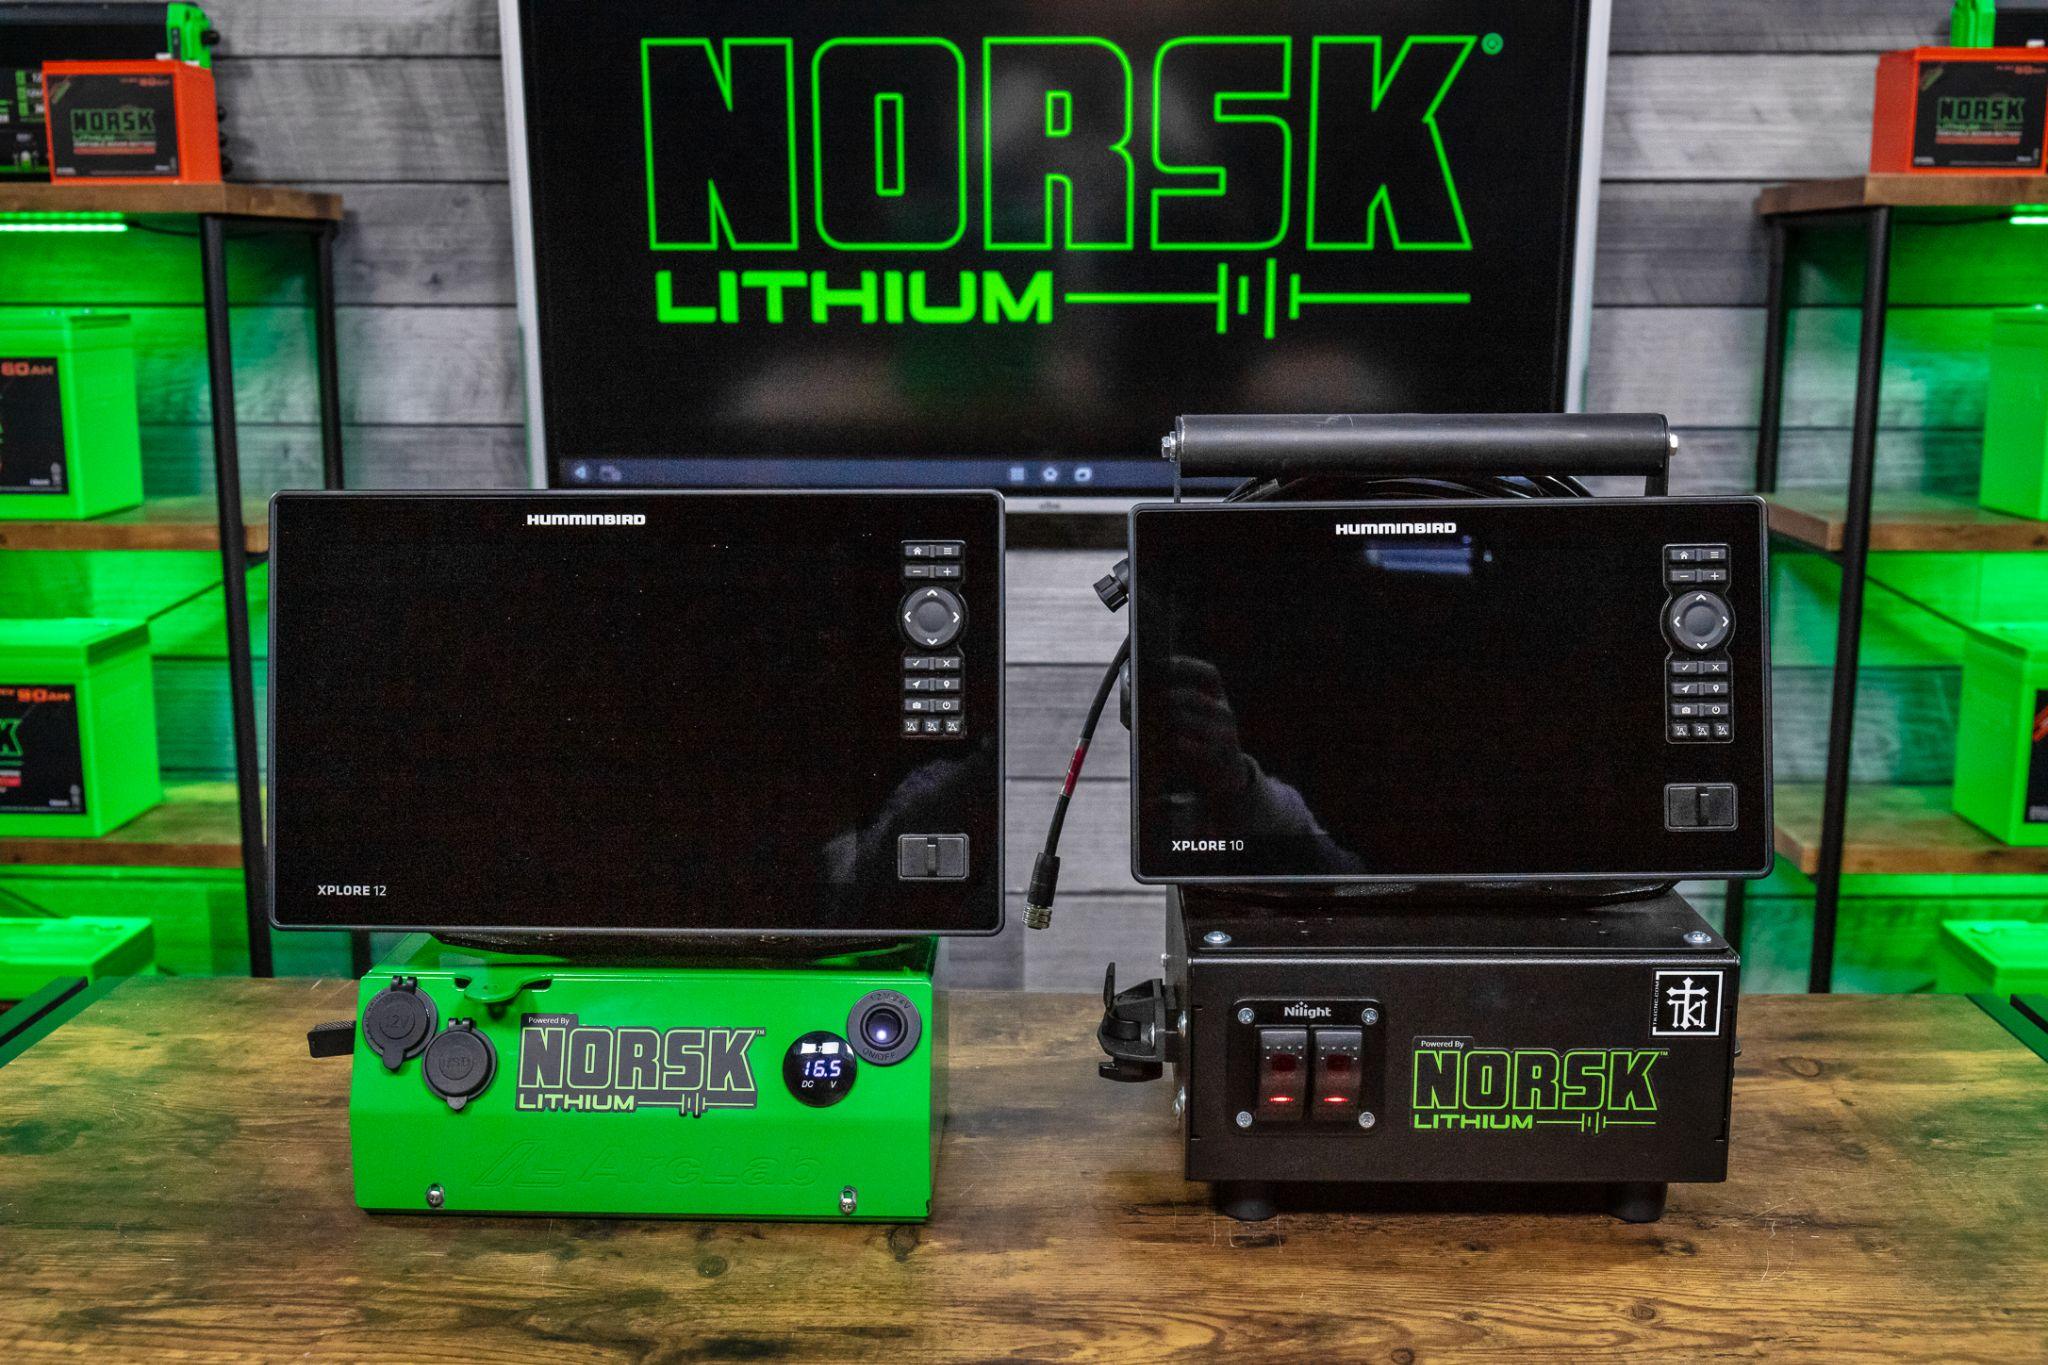
Once you’ve selected your electronics, use our Live Sonar Shuttle Buyer’s Guide: 9 Shuttles Compared to choose a platform. The lineup video shows the different designs, while the comparison table covers weight, MSRP, demonstrated Norsk battery fit, installation notes and shuttle features.
Your shuttle needs to accommodate the complete system, including brackets, battery connections and cable clearance.
Look closely at these features:
- Screen capacity: Confirm the maximum screen size, mounting pattern and room to tilt the display.
- Black-box space: Check mounting locations and connector clearance if your system requires a module.
- Battery compartment: Consider battery orientation, terminal clearance and the retention strap.
- Loaded balance: Think about how the shuttle will carry with all equipment installed.
- Pole storage: Identify where the pole and transducer will sit during transport.
- Wiring and controls: Review the included harness, switches, charging port and fuse access.
- Useful accessories: Consider USB outlets, task lights, UV jig lights, bags and transport mounts.
Handle position and component placement matter as much as empty shuttle weight. A well-balanced build can be more comfortable to carry and more stable with the screen tilted toward you.
Compare Shuttle PlatformsSTEP 3 / PLAN YOUR BUILD
CHOOSE YOUR TRANSDUCER POLE AND MOUNT
Plan how you will aim, deploy and stow your sonar.
A transducer pole lets you aim your sonar independently of the display. Choose one with suitable reach, stable support and convenient adjustment.
For ice fishing, consider how it stands over the hole, accommodates ice thickness and packs down when moving. For boat or kayak use, check deployment depth, mounting compatibility and how securely it stows.
Compare complete pole weight, rigidity, handle design and adjustment hardware. Material alone does not determine how well the pole will work for your fishing style.
PLAN FOR BOAT RAILS AND TRACK SYSTEMS
Rail- and track-mount accessories can help you move a portable system into a boat without redesigning the entire setup.
For example, the TKI Carbon Fiber Live Transducer Kit offers mounting options for round boat rails or track systems, making it easier to adapt your live sonar setup for open water. Choose the base that matches your rail diameter or track style, and confirm the mounting arm provides adequate clearance alongside the boat.
Check that the installed pole clears the hull and other equipment, remains supported while fishing and can be stowed securely before traveling.
STEP 4 / PLAN YOUR BUILD
CHOOSE YOUR NORSK 14.8V POWER SOURCE
Balance portable weight with the runtime you need.
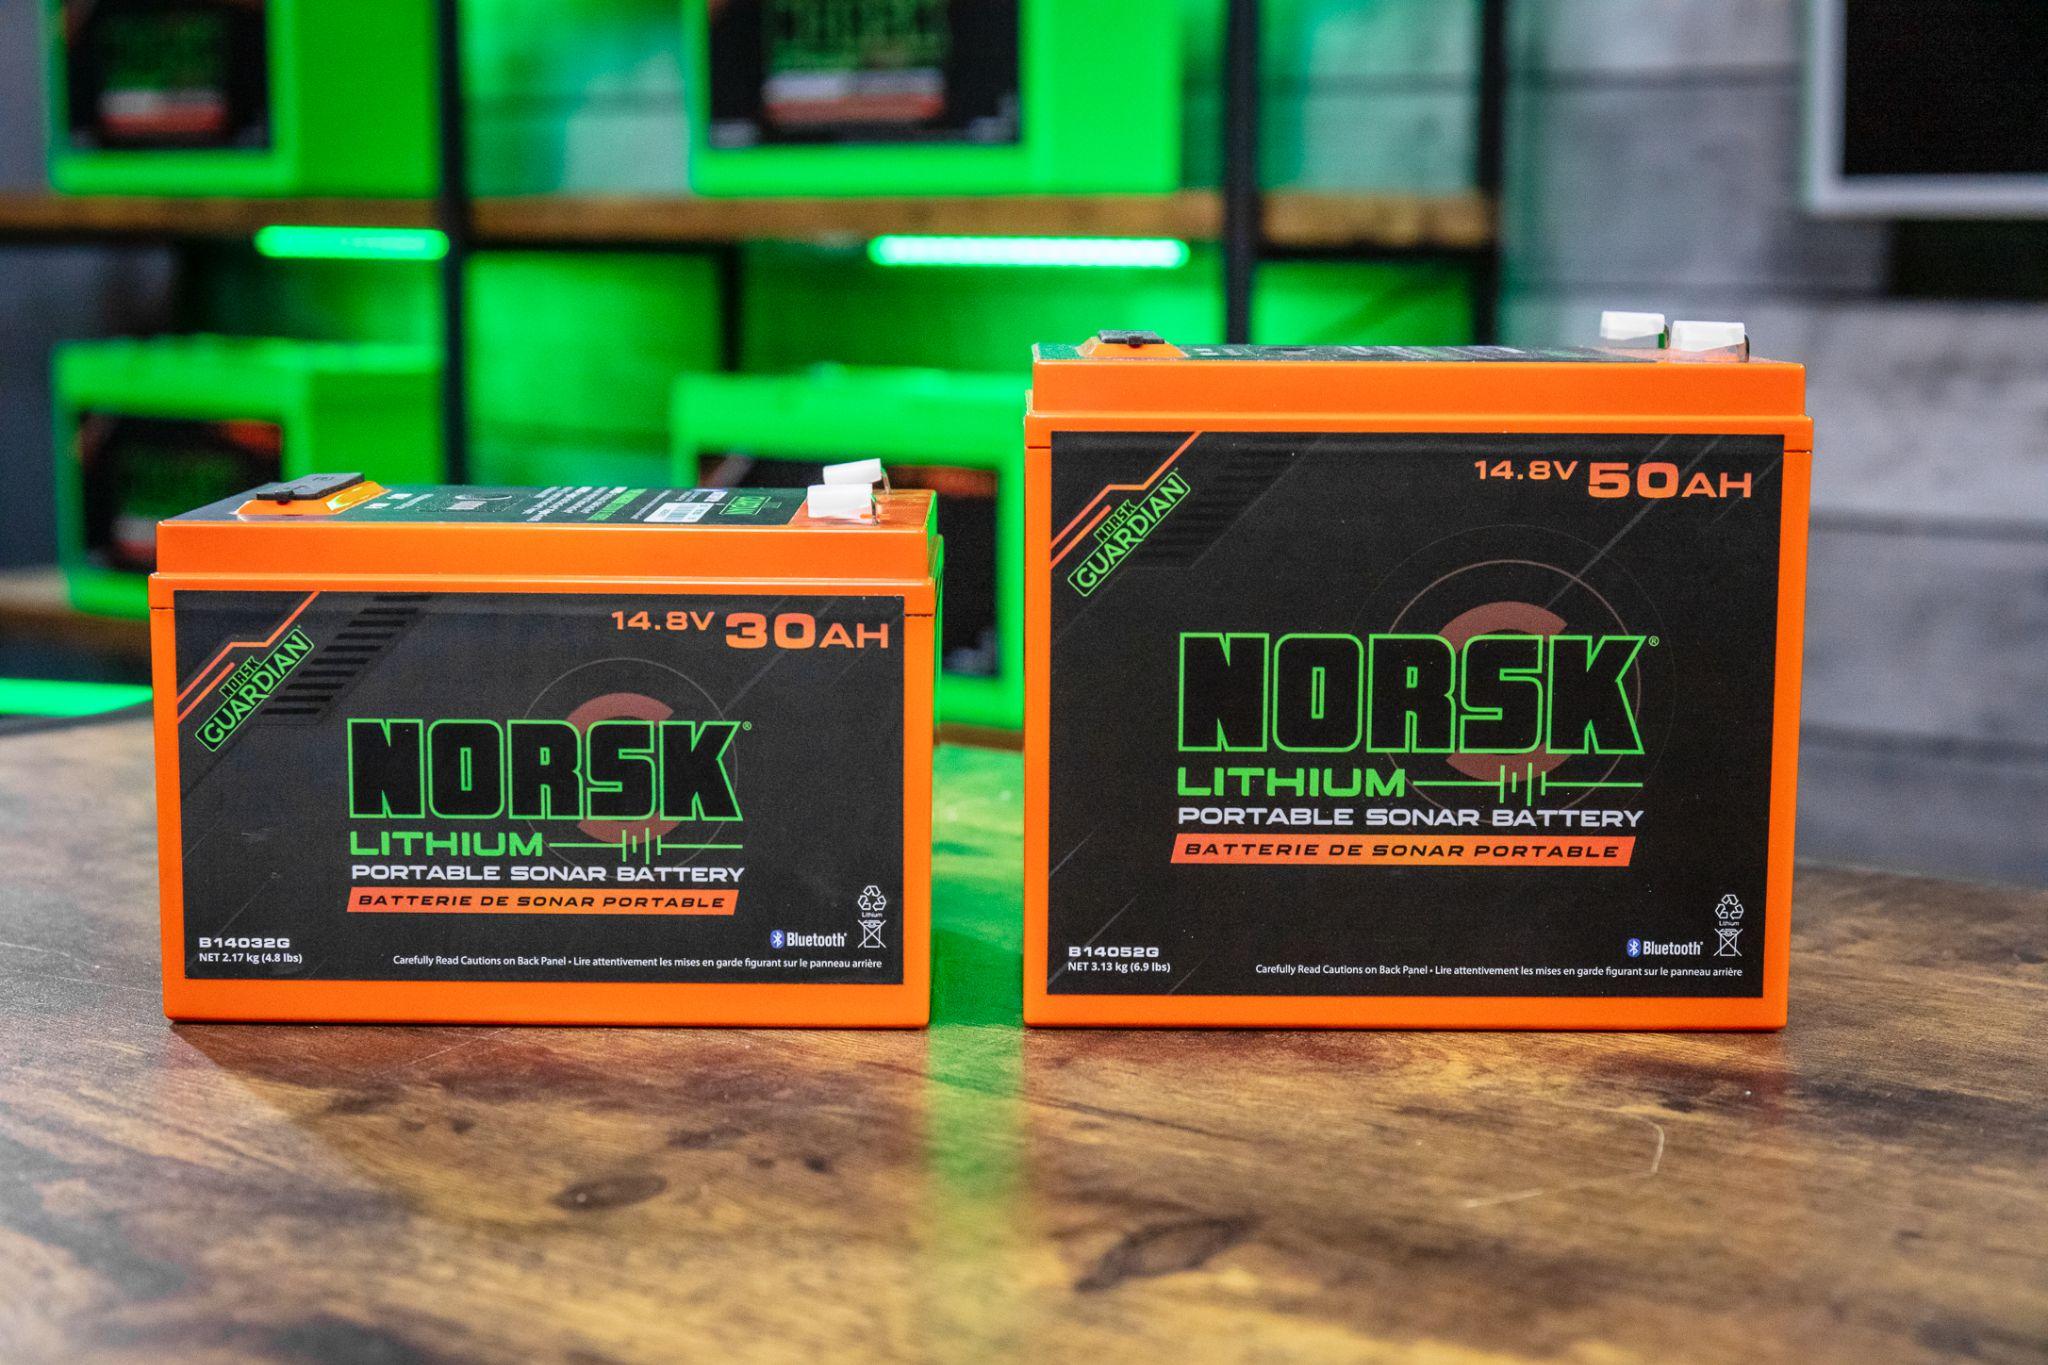
Your power source determines how much energy you carry, how often you recharge and how much weight you add to the shuttle.
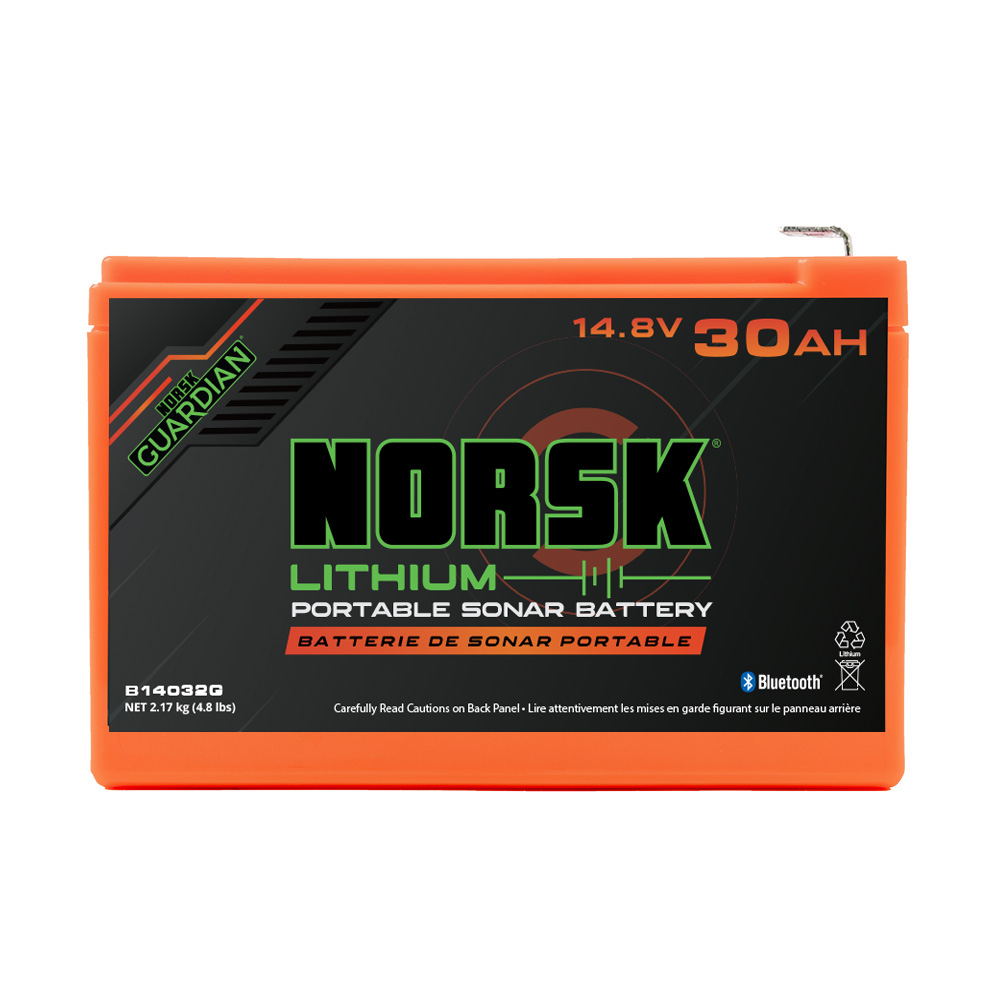
The Norsk Lithium 14.8V 30Ah and 50Ah portable sonar batteries are designed for demanding live-imaging and forward facing sonar applications. Both offer Bluetooth monitoring, USB accessory charging, a battery meter and power management button, and Deep Sleep™ storage functionality.
WHY CHOOSE 14.8V?
Look beyond amp-hours when comparing batteries with different voltages. Watt-hours account for both nominal voltage and capacity.
For example:
14.8V × 30Ah = 444Wh
12.8V × 30Ah = 384Wh
That is approximately 16% more nominal stored energy at the same amp-hour rating. Actual runtime also depends on equipment demand, operating conditions and usable battery capacity.
Check the input-voltage range of every powered component. A 14.8V nominal battery reaches approximately 16.8V when fully charged, so the display, sonar module and shuttle accessories must support that voltage.
30AH: BALANCE RUNTIME AND PORTABILITY
The Norsk Lithium 14.8V 30Ah Battery provides 444Wh of nominal energy and is the lighter of these two options. Consider it when you carry the shuttle frequently, move between holes or want to keep the complete build manageable.
Choose it when the estimated runtime covers your typical outing with reserve capacity remaining.
50AH: PRIORITIZE MAXIMUM RUNTIME
The Norsk Lithium 14.8V 50Ah Battery provides 740Wh of nominal energy, approximately 67% more than the 30Ah model. It is the option to consider for longer outings, higher-demand electronics or trips with limited charging access.
Whether that capacity supports one long day or several shorter outings depends on your equipment and actual operating hours.
ESTIMATE RUNTIME BEFORE YOU BUY
Use the Norsk Runtime Calculator to compare battery options for your planned electronics. Account for the display, any separately powered sonar components and accessories sharing the battery.
Leave reserve capacity for longer outings and changing conditions. If a newly released model is not listed, obtain its power specifications and ask Norsk for help estimating demand rather than selecting a different model and assuming it will match.
For more battery-selection guidance, visit our Live Imaging Shuttle Battery Guide.
STEP 5 / ASSEMBLE & TEST
GATHER YOUR PARTS AND TEST-FIT THE BUILD
Confirm clearances before you tighten anything down.
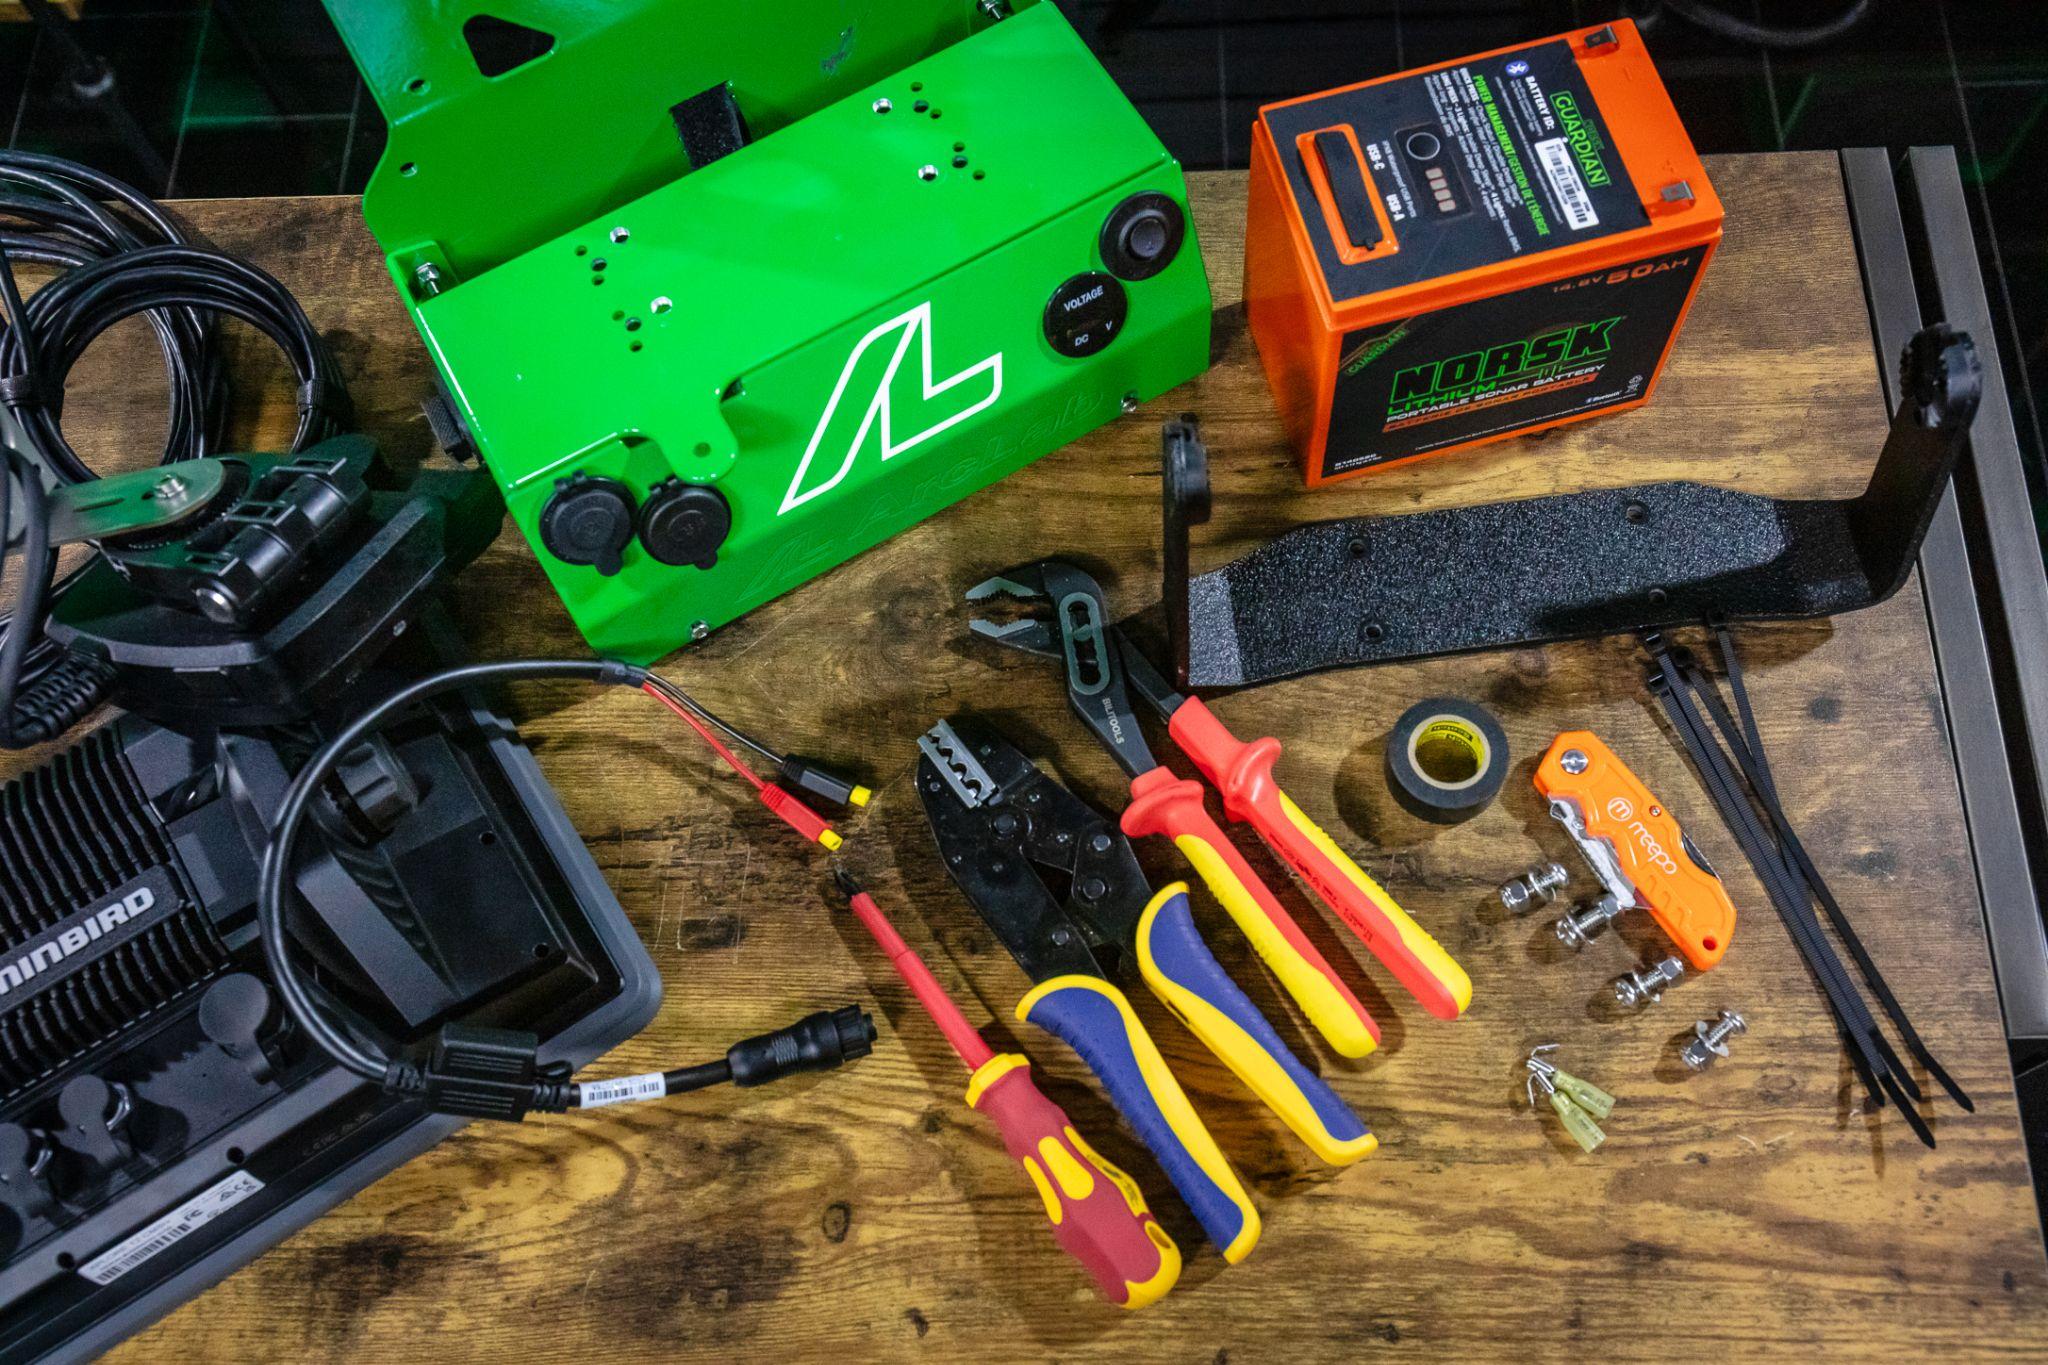
Check what your shuttle and electronics packages include before ordering additional parts.
| Component | What to confirm |
|---|---|
| Shuttle and display bracket | Screen compatibility, mounting pattern and suitable hardware |
| Sonar system | Compatible display, transducer, module where required, cables and adapters |
| Pole and mount | Suitable length, adjustment range and travel arrangement |
| Battery and charger | Voltage compatibility, capacity and physical fit |
| Wiring and circuit protection | Correct connectors, wire sizing and specified fuses |
| Battery restraint | Supplied strap, bracket or approved retention system |
| Cable-management supplies | Reusable straps, clamps and edge protection |
| Transport protection | Screen cover, transducer protection, optional bag or docking system |
Have suitable drivers, wrenches, label tape and a multimeter available. If you’re assembling wiring, use the appropriate stripping and crimping tools. Follow the component manuals, and use a qualified installer for work outside your experience.
POSITION EVERYTHING BEFORE FINAL ASSEMBLY
Set the battery, sonar module and display bracket in place before tightening hardware or securing cables permanently.
Check that:
- The display tilts without striking the handle or wiring.
- Access panels open fully.
- Connectors can be installed and removed.
- Fuses remain accessible.
- The battery restraint can be tightened and released.
- Cables have room to exit without sharp bends.
MAKE THE MOST OF COMPACT BATTERY SPACE
Compact shuttle designs make efficient use of available space. In some builds, that means positioning the battery on its side.
Norsk portable sonar batteries use sealed lithium cells rather than wet-cell construction, allowing side installation in the configurations demonstrated in our Shuttle Buyer’s Guide. Refer to those model-specific fit results, then check clearance with your actual electronics and wiring.
Consider access to the battery’s USB ports, power management button and charging connections. If the battery ports become enclosed, front-panel USB outlets may offer a more convenient connection.
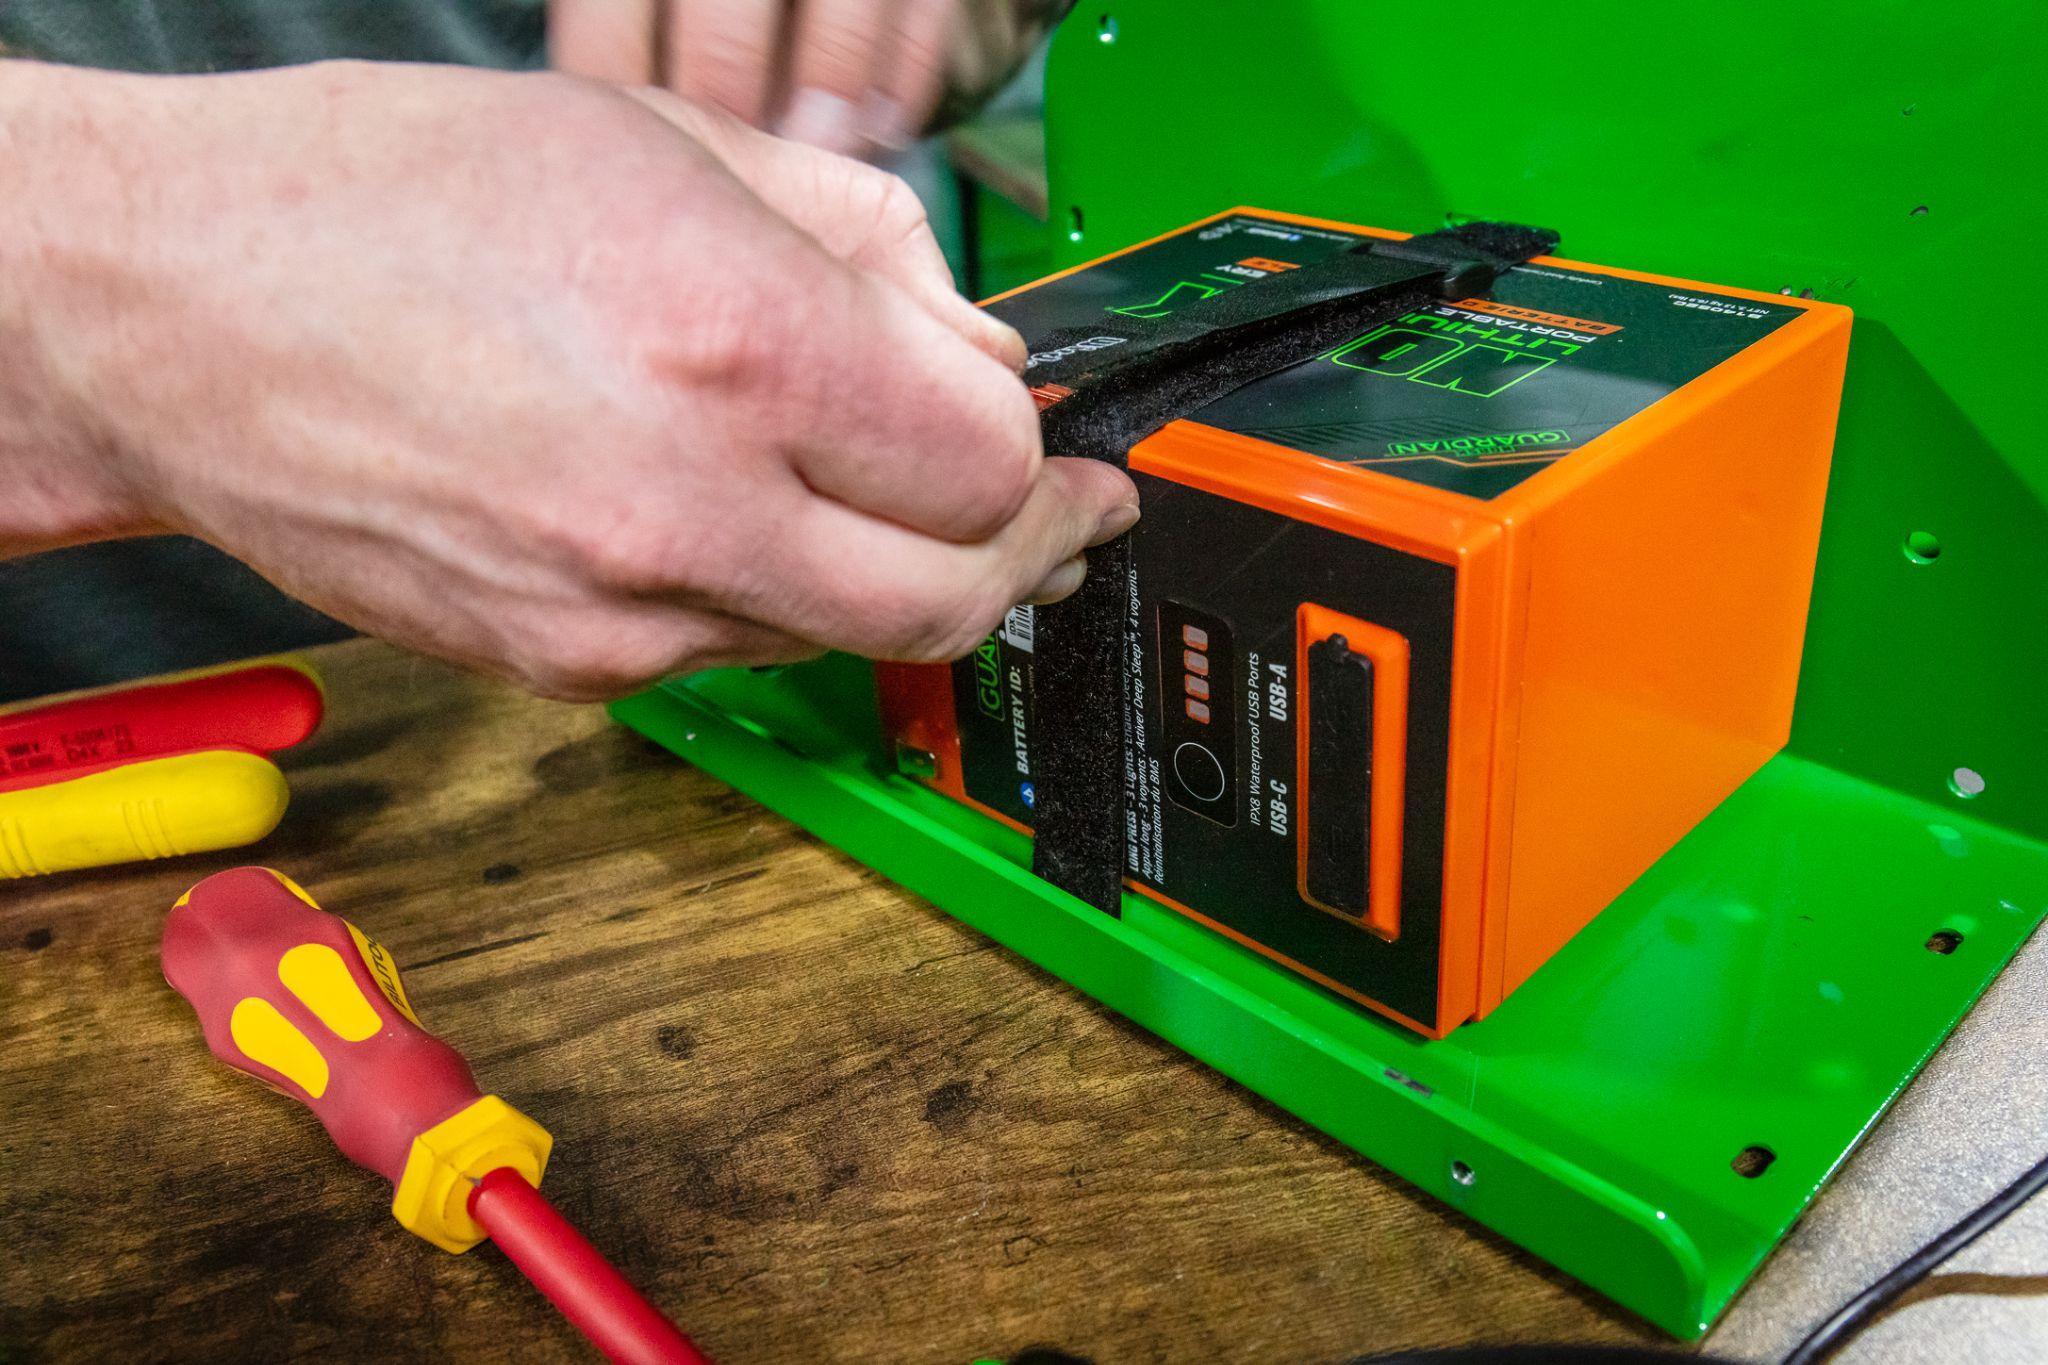
Most shuttle manufacturers provide a battery-retention method, commonly a hook-and-loop strap. Secure the battery so it cannot shift against wiring or electronics, and keep terminals clear of conductive hardware.
STEP 6 / ASSEMBLE & TEST
SECURE YOUR DISPLAY AND SONAR COMPONENTS
Mount for comfortable viewing and dependable support.
Use the shuttle’s designated mounting locations and appropriate hardware. Check fastener length so bolts cannot contact the battery, wiring or electronics behind the mounting surface.
Position the display for comfortable viewing while maintaining stability. Check the intended viewing angles with the battery installed, since its weight affects balance.
If your system uses a processing module, follow its mounting, clearance and ventilation requirements. Leave room around connectors for cable bends and future access.
STEP 7 / ASSEMBLE & TEST
CONNECT POWER AND ORGANIZE THE WIRING
Build connections that are protected and easy to service.
Keep the battery physically disconnected while installing or changing wiring. Deep Sleep™ does not replace disconnecting the power source during electrical work.
FOLLOW THE EQUIPMENT’S WIRING REQUIREMENTS
Identify each harness connection before attaching equipment. Confirm that the wiring, switches and accessory circuits support the battery voltage and connected loads.
Use the wire size and fuse specifications required by your equipment and installation. There is no universal wire gauge or fuse rating for every shuttle. Fuse selection must account for the equipment and the wiring being protected.
Protect battery-fed wiring near the source as required, and retain equipment-specific fuses. For example, Garmin specifies a 7.5A fast-acting fuse for the GLS 10 and requires the module and chartplotter to share the same ground. Other systems can have different requirements.
KEEP CONNECTIONS SECURE AND ACCESSIBLE
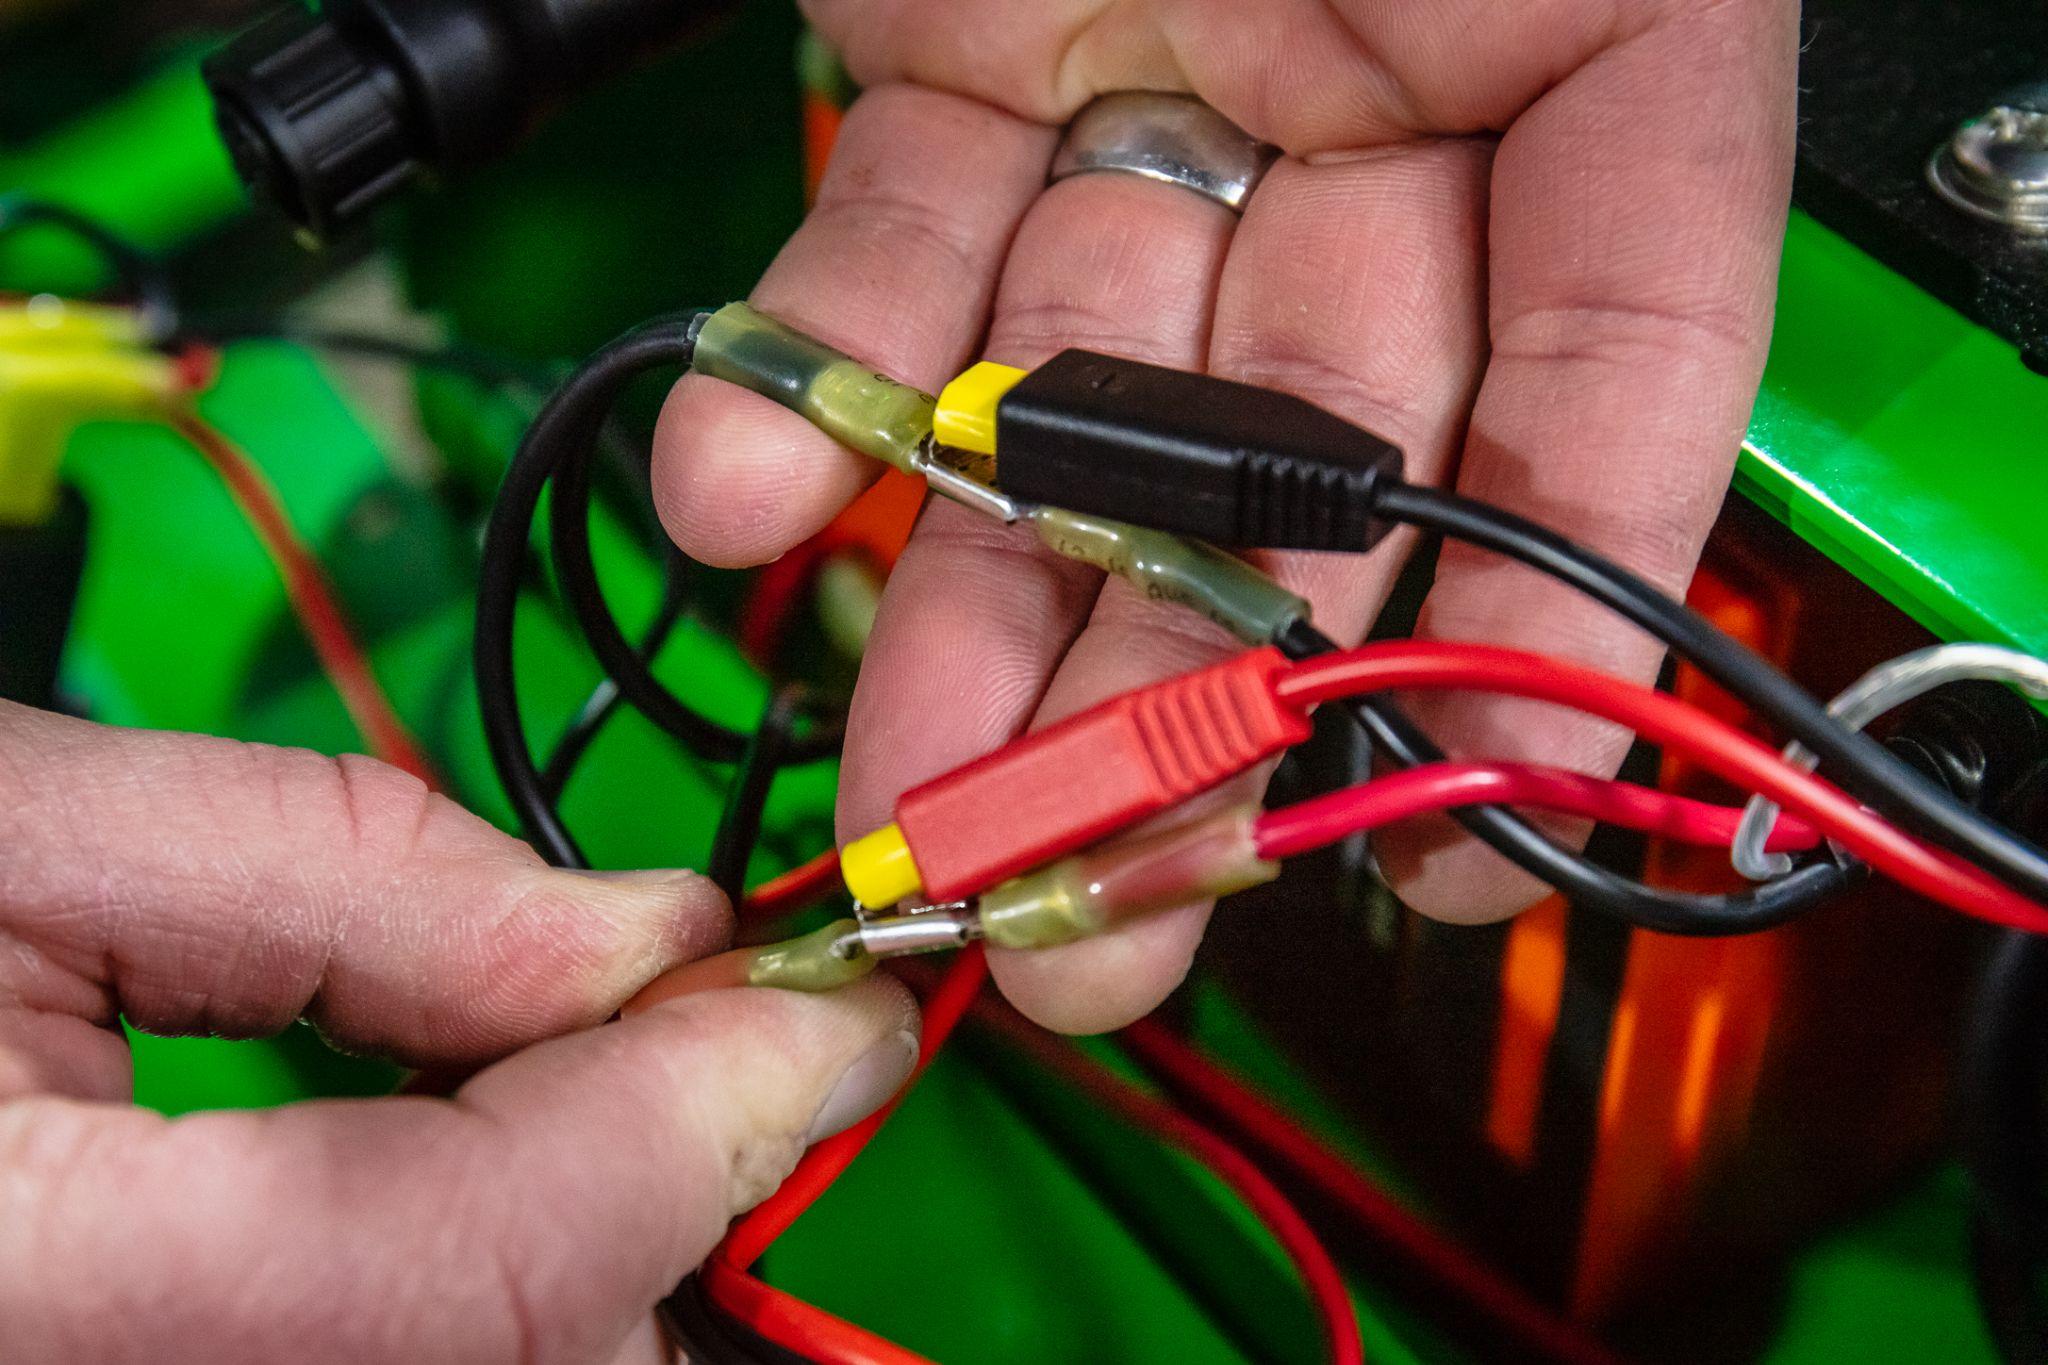
Use correctly fitted, insulated connections and support wiring so handling the shuttle does not pull on terminals. Keep fuses accessible and follow the manufacturer’s grounding arrangement. The use of connectors that feature adhesive-lined heat shrink will increase durability and waterproof your wiring connections.
A suitable master switch provides convenient everyday control. Shut down the electronics according to their instructions before switching off the supply.
VERIFY THE CHARGING CONNECTION
An external charging port lets you recharge without removing the battery. Before using it, confirm polarity, charger compatibility and the current rating of the complete charging circuit.
Matching SAE plugs alone do not establish compatibility. The port, connectors and wiring must support the charger you intend to use.
STEP 8 / ASSEMBLE & TEST
INSTALL THE TRANSDUCER AND ROUTE ITS CABLE
Leave room for movement without stressing connections.
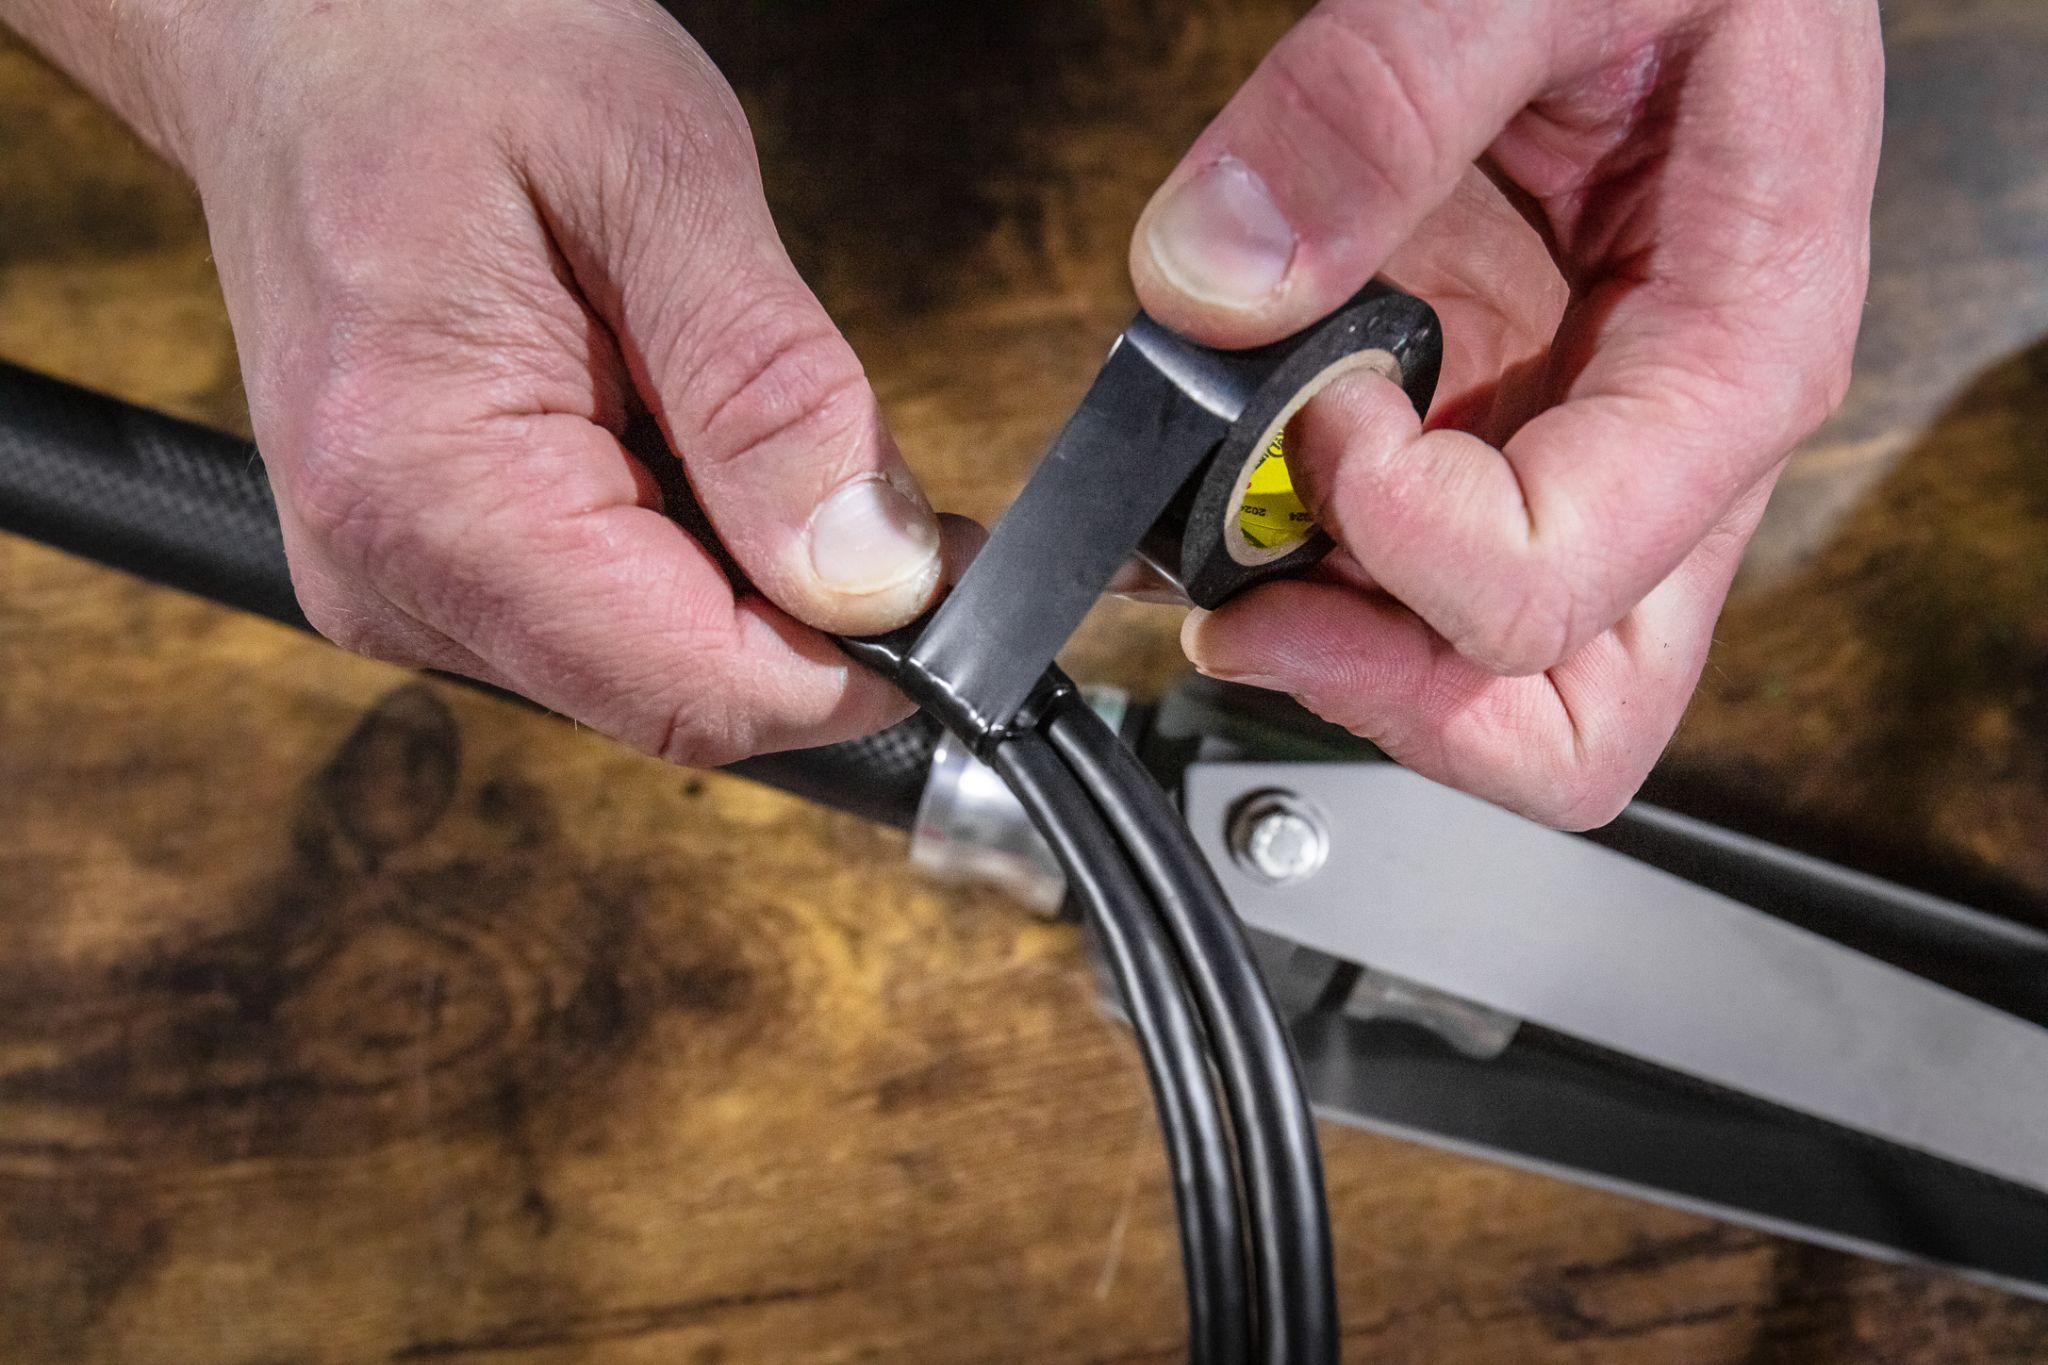
Mount and align the transducer according to its manufacturer’s instructions. Confirm the pole can rotate and adjust without pulling on the cable or contacting the display.
Leave enough slack for normal movement, then secure excess cable so it cannot catch on equipment.
- Support cables near connectors.
- Keep cables clear of hinges and sharp edges.
- Follow the manufacturer’s minimum bend-radius guidance.
- Use reusable straps where adjustments may be needed.
- Avoid overtightening cable ties.
- Do not cut or splice transducer cables unless explicitly permitted.
Test the routing with the pole both deployed and stowed. Moving between those positions should not pinch a cable or place tension on a connection.
STEP 9 / ASSEMBLE & TEST
CONNECT GUARDIAN AND TEST THE SYSTEM
Identify your battery, monitor power and verify the build.
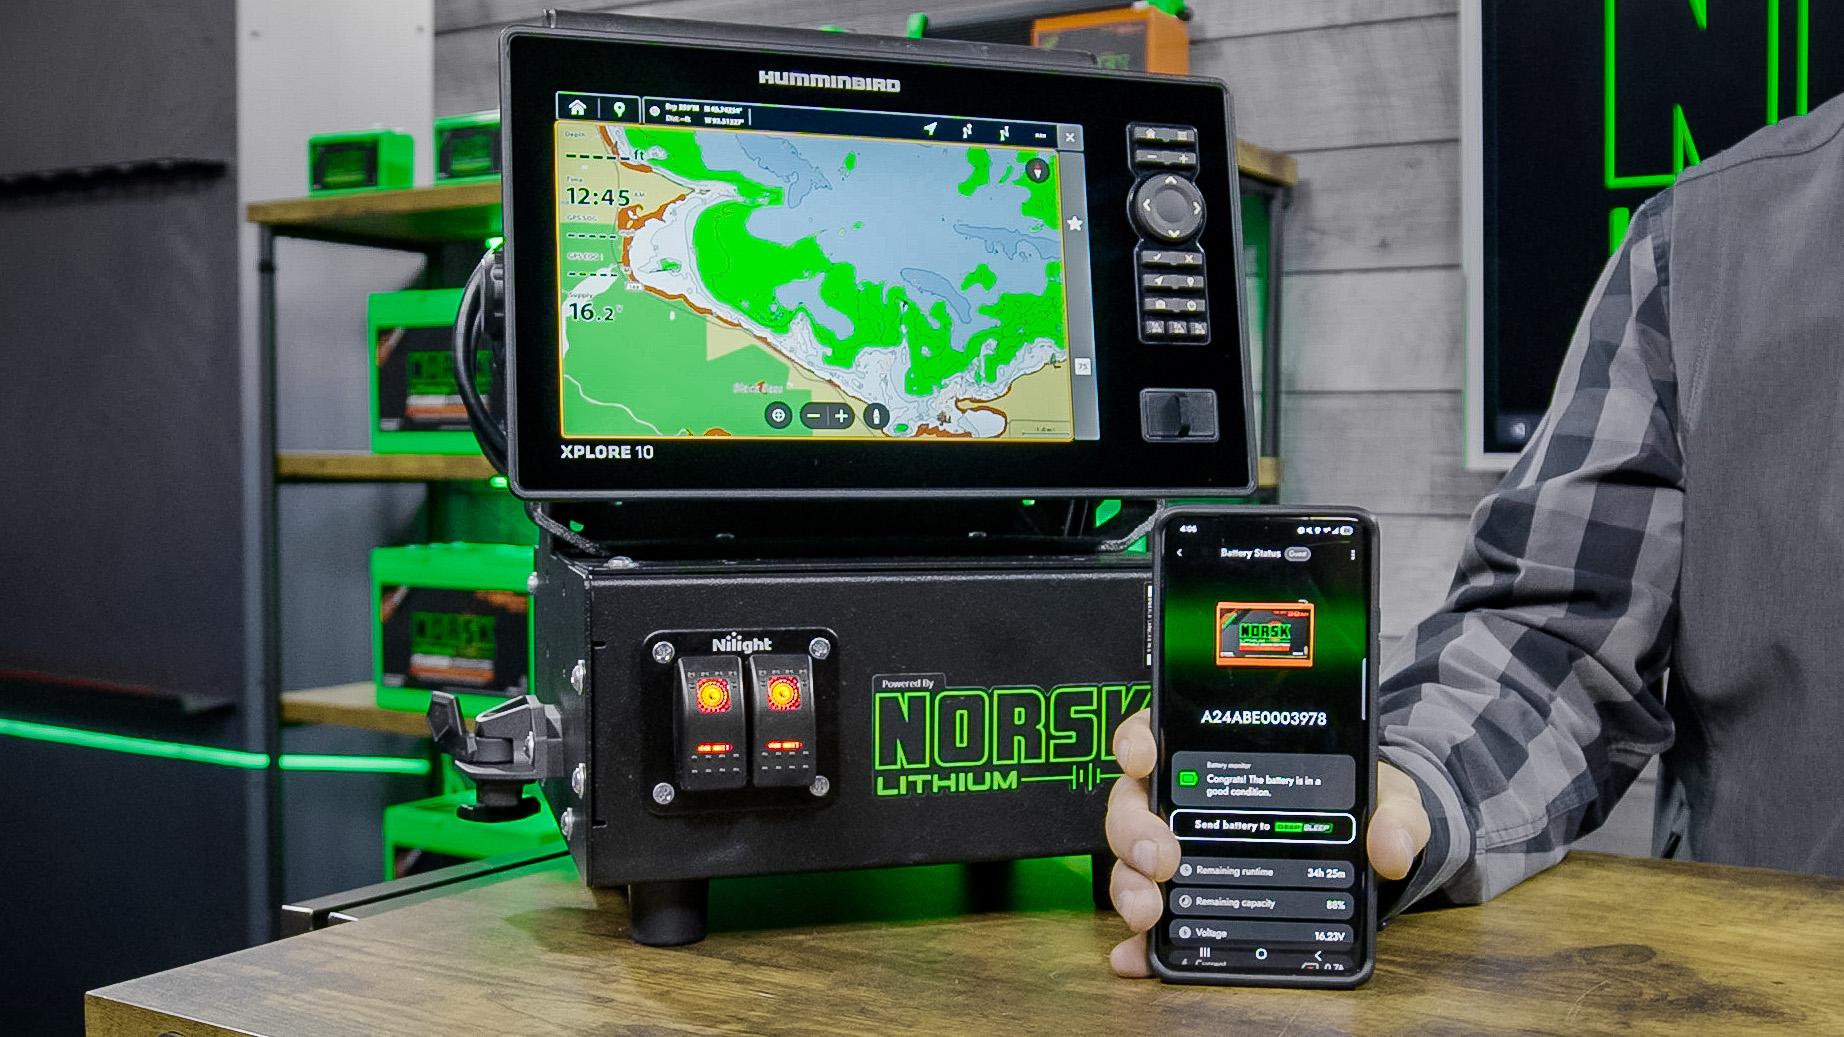

Connect your battery to the Norsk Guardian® App before your first outing. Confirm you have selected the correct battery using the ID label you added.
Create an installation for your shuttle, give it a recognizable name and assign the battery to it. Select the Sonar category and choose the icon that best represents your setup. This makes the shuttle easier to identify when you also use Norsk batteries in your boat or other equipment.
The voltmeter found on many shuttle front panels gives you a quick voltage reading, but it doesn’t tell you how much fishing time remains. The Norsk Guardian® App translates battery status and power demand into estimated hours and minutes remaining, making it easier to plan your day. That estimate adjusts as your equipment’s power consumption changes.
The Runtime Calculator helps you select capacity before buying or planning your trip. The Guardian App helps you monitor your battery during use.
COMPLETE YOUR FIRST POWER-UP
Inspect polarity, fuses and connections before connecting the battery. Then:
- Confirm the battery and electronics are securely mounted.
- Power on equipment according to its instructions.
- Check communication between the display and sonar components.
- Test switches, lights and USB outlets individually.
- Move the display and pole through their operating positions.
- Confirm cables remain clear and connections stay secure.
- Check battery status in Guardian.
Use standby or the manufacturer’s recommended procedure for checks out of water. Complete the sonar-image test with the transducer in the water, following the equipment’s setup instructions.
STEP 10 / TRAVEL & MAINTAIN
SECURE THE SHUTTLE FOR TRAVEL
Protect the complete system between fishing spots.
Restrain the complete shuttle so it cannot slide, tip or bounce. The internal battery strap secures the battery; the entire shuttle needs its own transport restraint.
Protect the screen and transducer, and secure the pole in its travel position. A protective bag, available as an additional accessory for many platforms, helps shield equipment from incidental contact.
For repeated transport in a boat, sled or other vehicle, consider a compatible docking or mounting system. Match accessories such as the TKI Quick Mount Plate to the exact shuttle model and follow the mounting instructions.
Check that straps do not press against the display, pull on wiring or allow the transducer to swing into other equipment.
STEP 11 / TRAVEL & MAINTAIN
RECHARGE AND STORE YOUR SYSTEM PROPERLY
Use the right charger and prepare for the next outing.
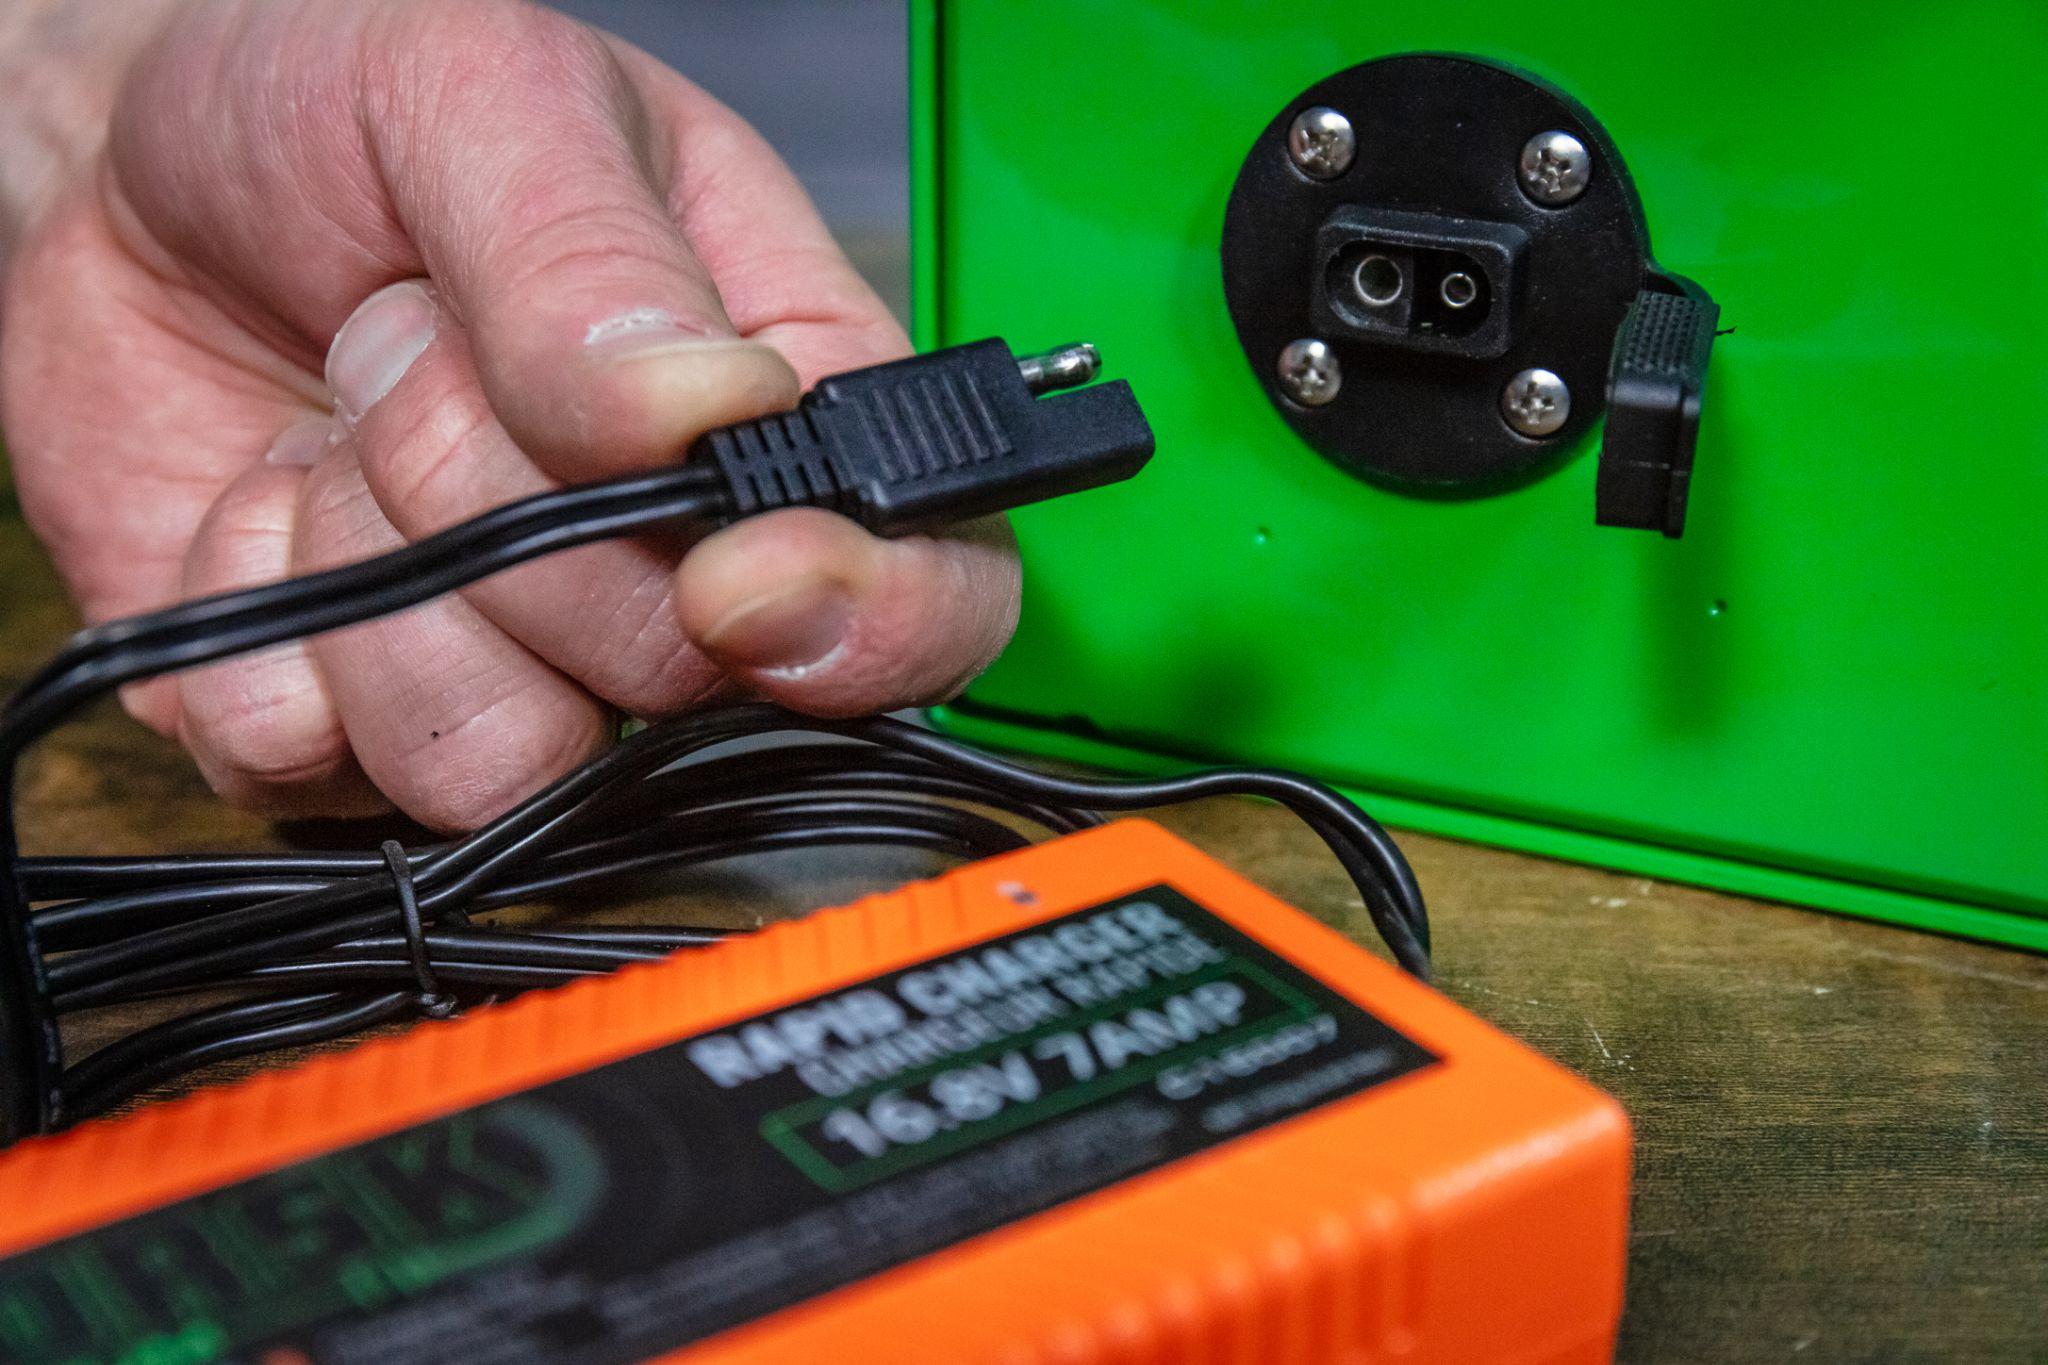
Both Norsk 14.8V battery packages include a standard 3A charger. For faster turnaround between outings, choose the separately available 16.8V 7A Rapid Charger or select a 30Ah Rapid Charge Bundle or 50Ah Rapid Charge Bundle. The 7A charger is compatible with Norsk’s 14.8V 30Ah and 50Ah batteries.
USE THE CORRECT NORSK CHARGER
Use a Norsk Lithium charger specifically approved for your battery model. Do not substitute a charger intended for another battery brand, voltage or chemistry unless Norsk confirms compatibility.
A matching plug or “lithium” label does not mean a charger provides the correct charging profile. When charging through the shuttle, confirm the port and wiring support the charger’s output.
LET COLD BATTERIES WARM NATURALLY
After a cold outing, bring the battery into a dry location and allow its internal cells to warm before charging. Norsk’s low-temperature charge protection can delay charging while the cell pack is too cold.
A green charger light alone does not necessarily indicate a full battery under those conditions. Follow the charging instructions and temperature limits in your battery’s manual.
ENABLE DEEP SLEEP™ BETWEEN OUTINGS
For seasonal storage or between trips, Deep Sleep™ Advanced Storage Mode disconnects terminal power to eliminate phantom draw from illuminated switches and other connected equipment.
Activate it with the power management button or through the Norsk Guardian® App when the battery is enclosed inside the shuttle. For extended storage, follow the manual’s charge-level and storage recommendations.
Learn more about Deep Sleep™ Advanced Battery Storage.
BUILD IT ONCE. FISH IT THROUGH THE SEASONS.
A thoughtfully assembled shuttle makes your sonar easier to carry, use and maintain. Start with electronics that suit your fishing, choose a platform that accommodates them, and bring everything together with secure mounting, organized wiring and dependable power.
Use our Live Sonar Shuttle Buyer’s Guide to compare platforms, then pair your build with the Norsk Lithium 14.8V 30Ah for a lighter portable setup or the 14.8V 50Ah when additional runtime is your priority.
From open water to the ice, the goal is a system that helps you spend less time managing equipment and more time fishing.
Build with confidence. Fish with dependable power. Norsk Lithium. Superior Lithium Power™.
SEE WHAT OTHERS ARE DOING
See how other anglers put their shuttle systems together. These overviews offer another perspective as you plan your own electronics, layout and portable power.
JAY SIEMENS SHUTTLE OVERVIEW
Join Jay Siemens for a look at his fishing-electronics setup. This video starts at the shuttle overview so you can jump straight to the portable system.
CODY SOLBERG SHUTTLE OVERVIEW
Take a closer look at Norsk Pro Staff angler Cody Solberg’s shuttle. Use his overview as another reference when considering the layout of your own build.
POWER YOUR BUILD
14.8V 30AH BATTERY
View Product →
14.8V 50AH BATTERY
View Product →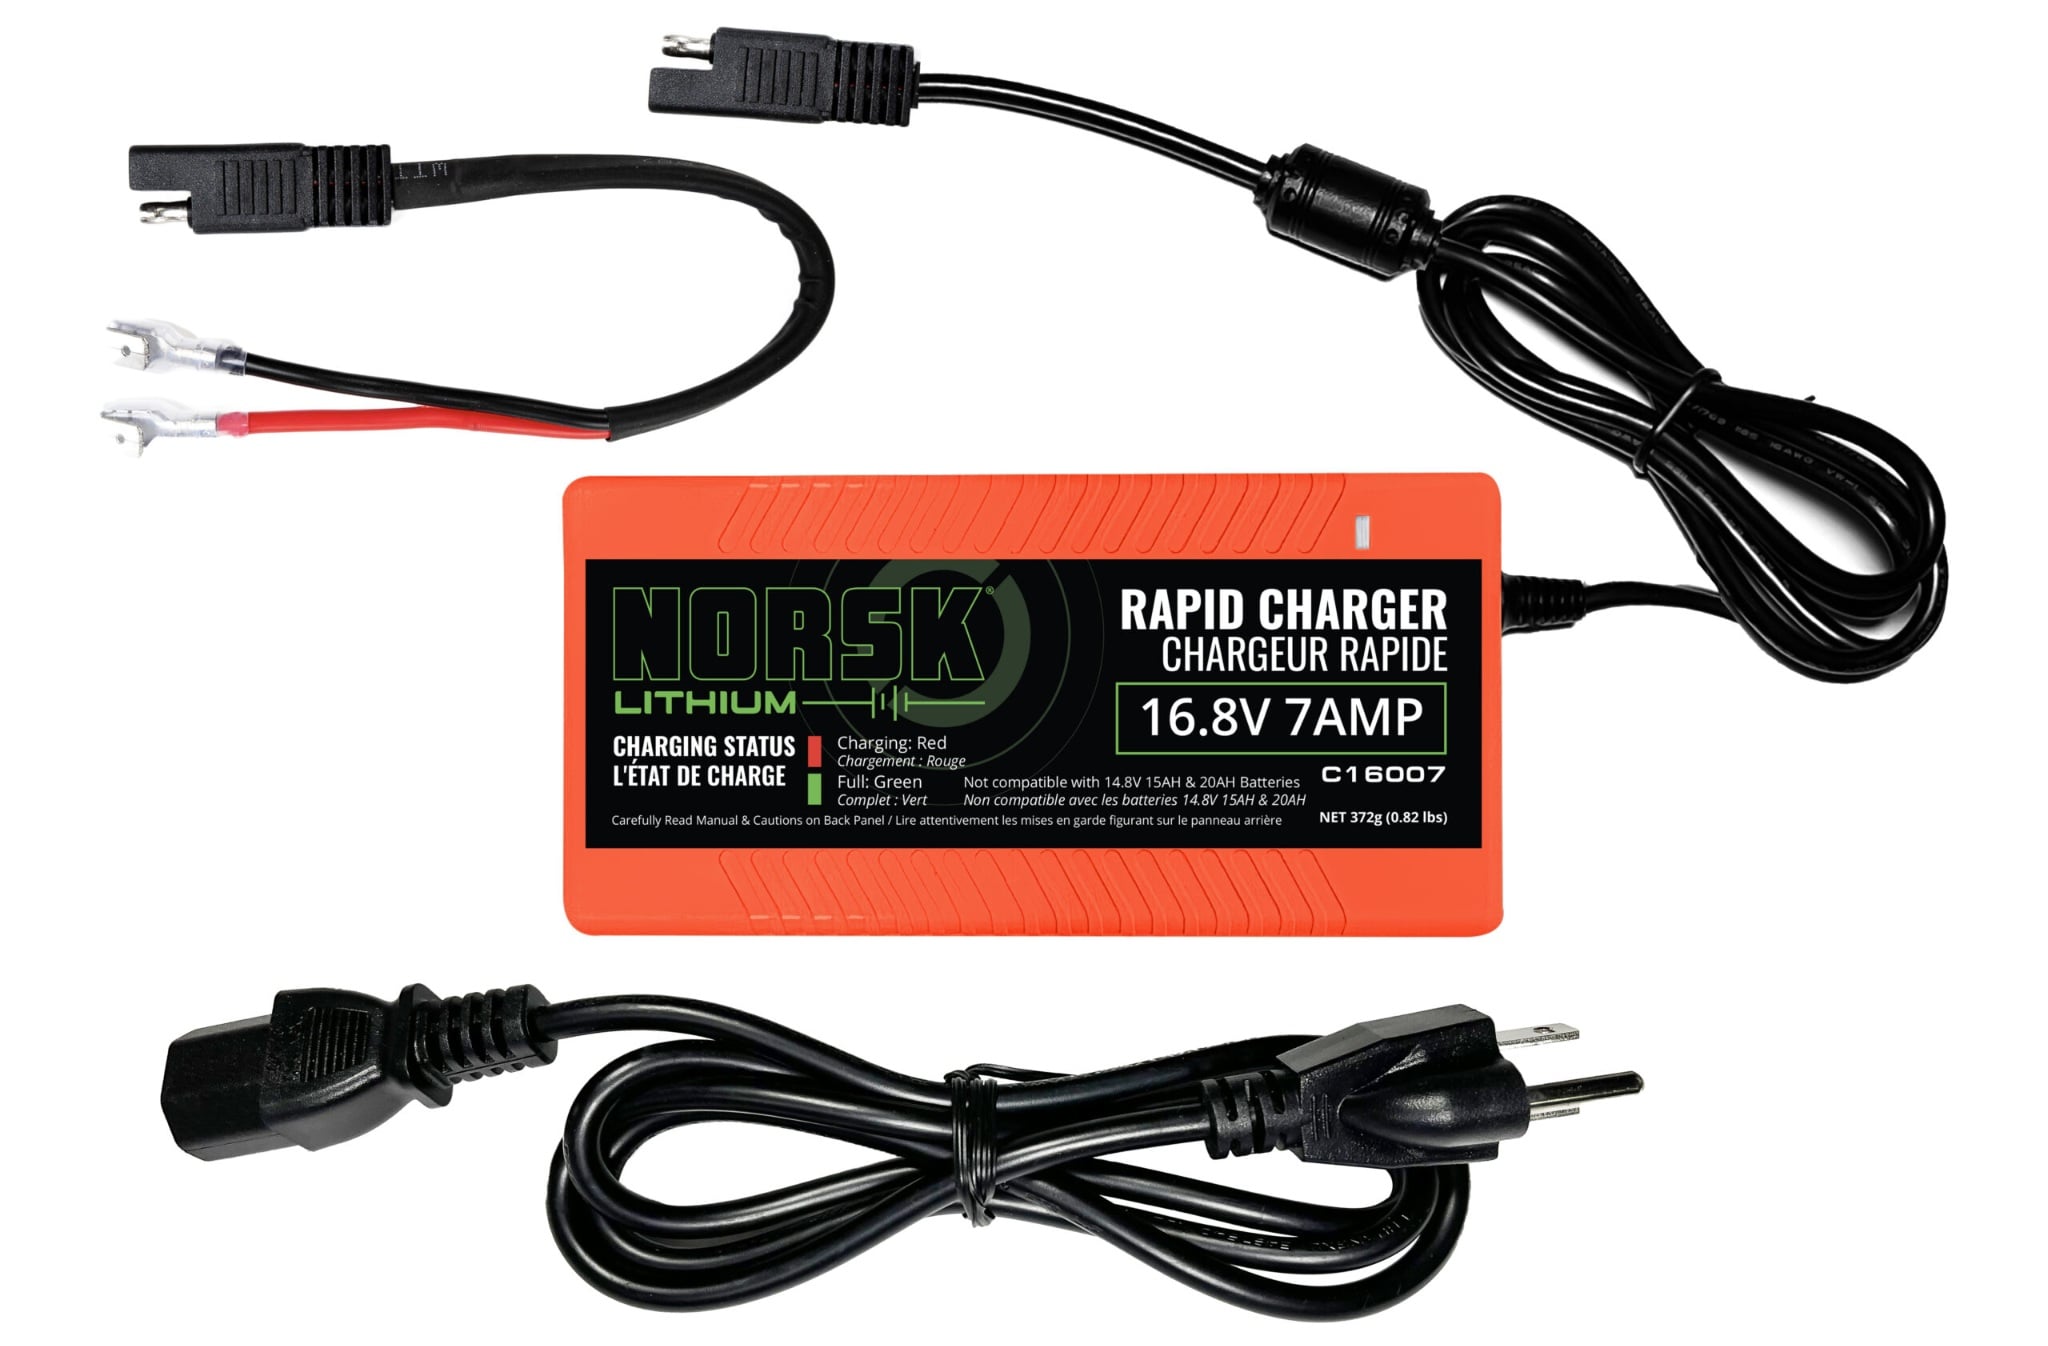
16.8V 7A RAPID CHARGER
View Product →30AH RAPID CHARGE BUNDLE
View Bundle →